Why ply?
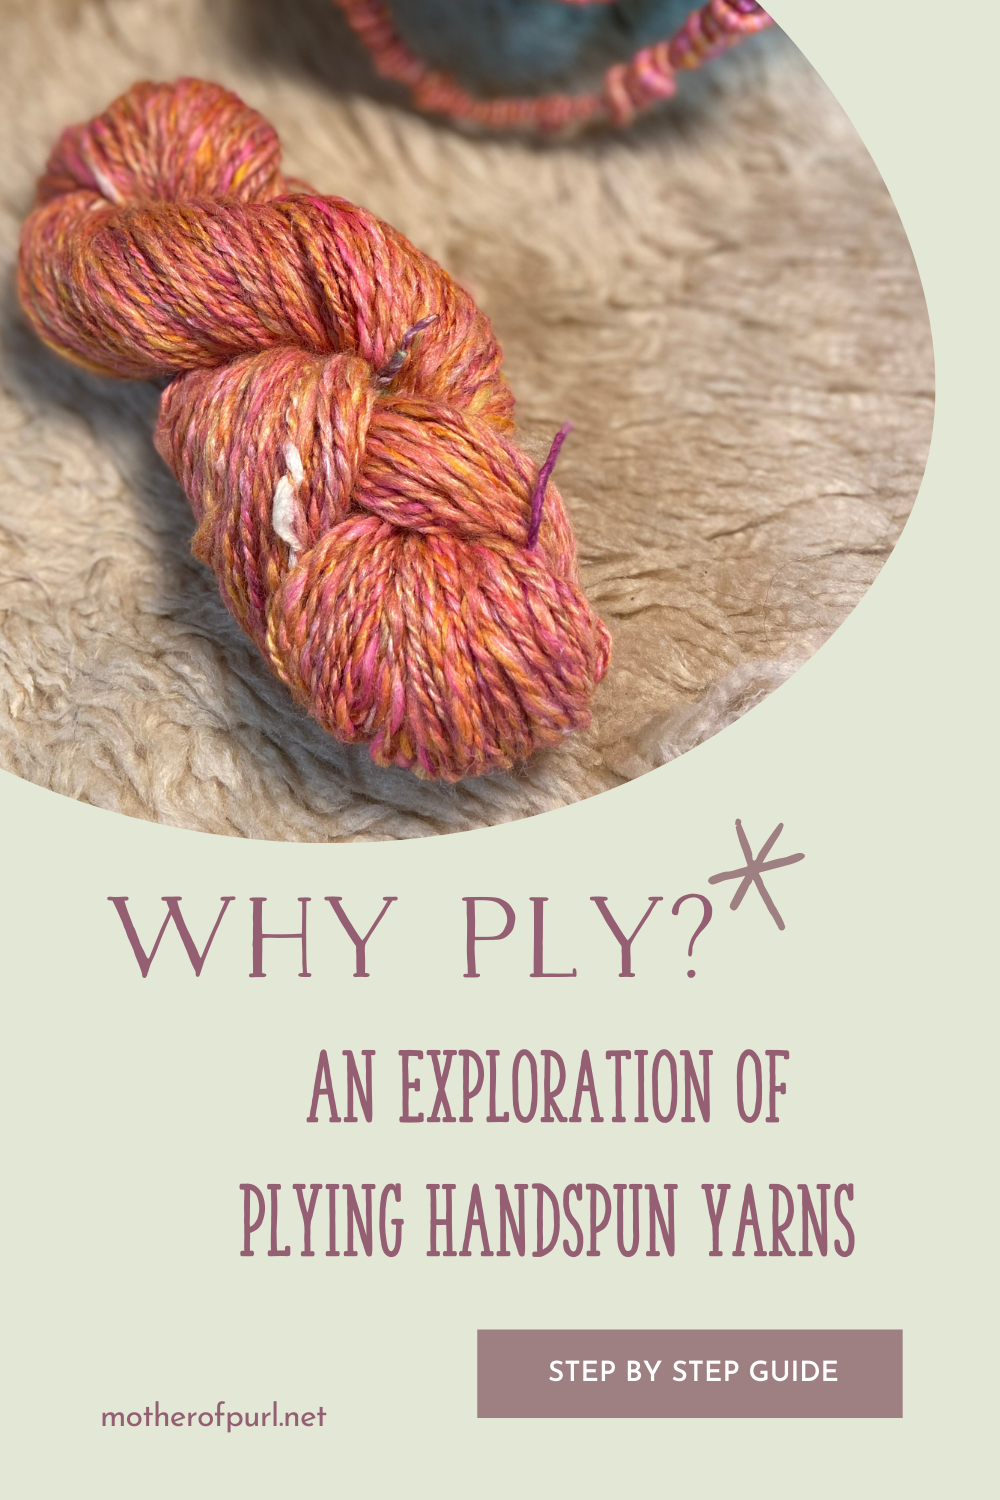
An exploration of when and why to ply your handspun yarn.
*Disclosure: I only recommend products I would use myself and all opinions expressed here are my own. This post contains affiliate links that at no additional cost to you, I may earn a small commission if you buy as a result of clicking this link. thank you.
For this yarn making experiment I used Rosie's Lapidary Merino and Silk Top from the Woolery!
Fiber content:
70% Dyed Merino
30% Bleached Tussah Silk

Each Roving comes in 9 oz! so, I had plenty to work with and get the feel for the fiber.
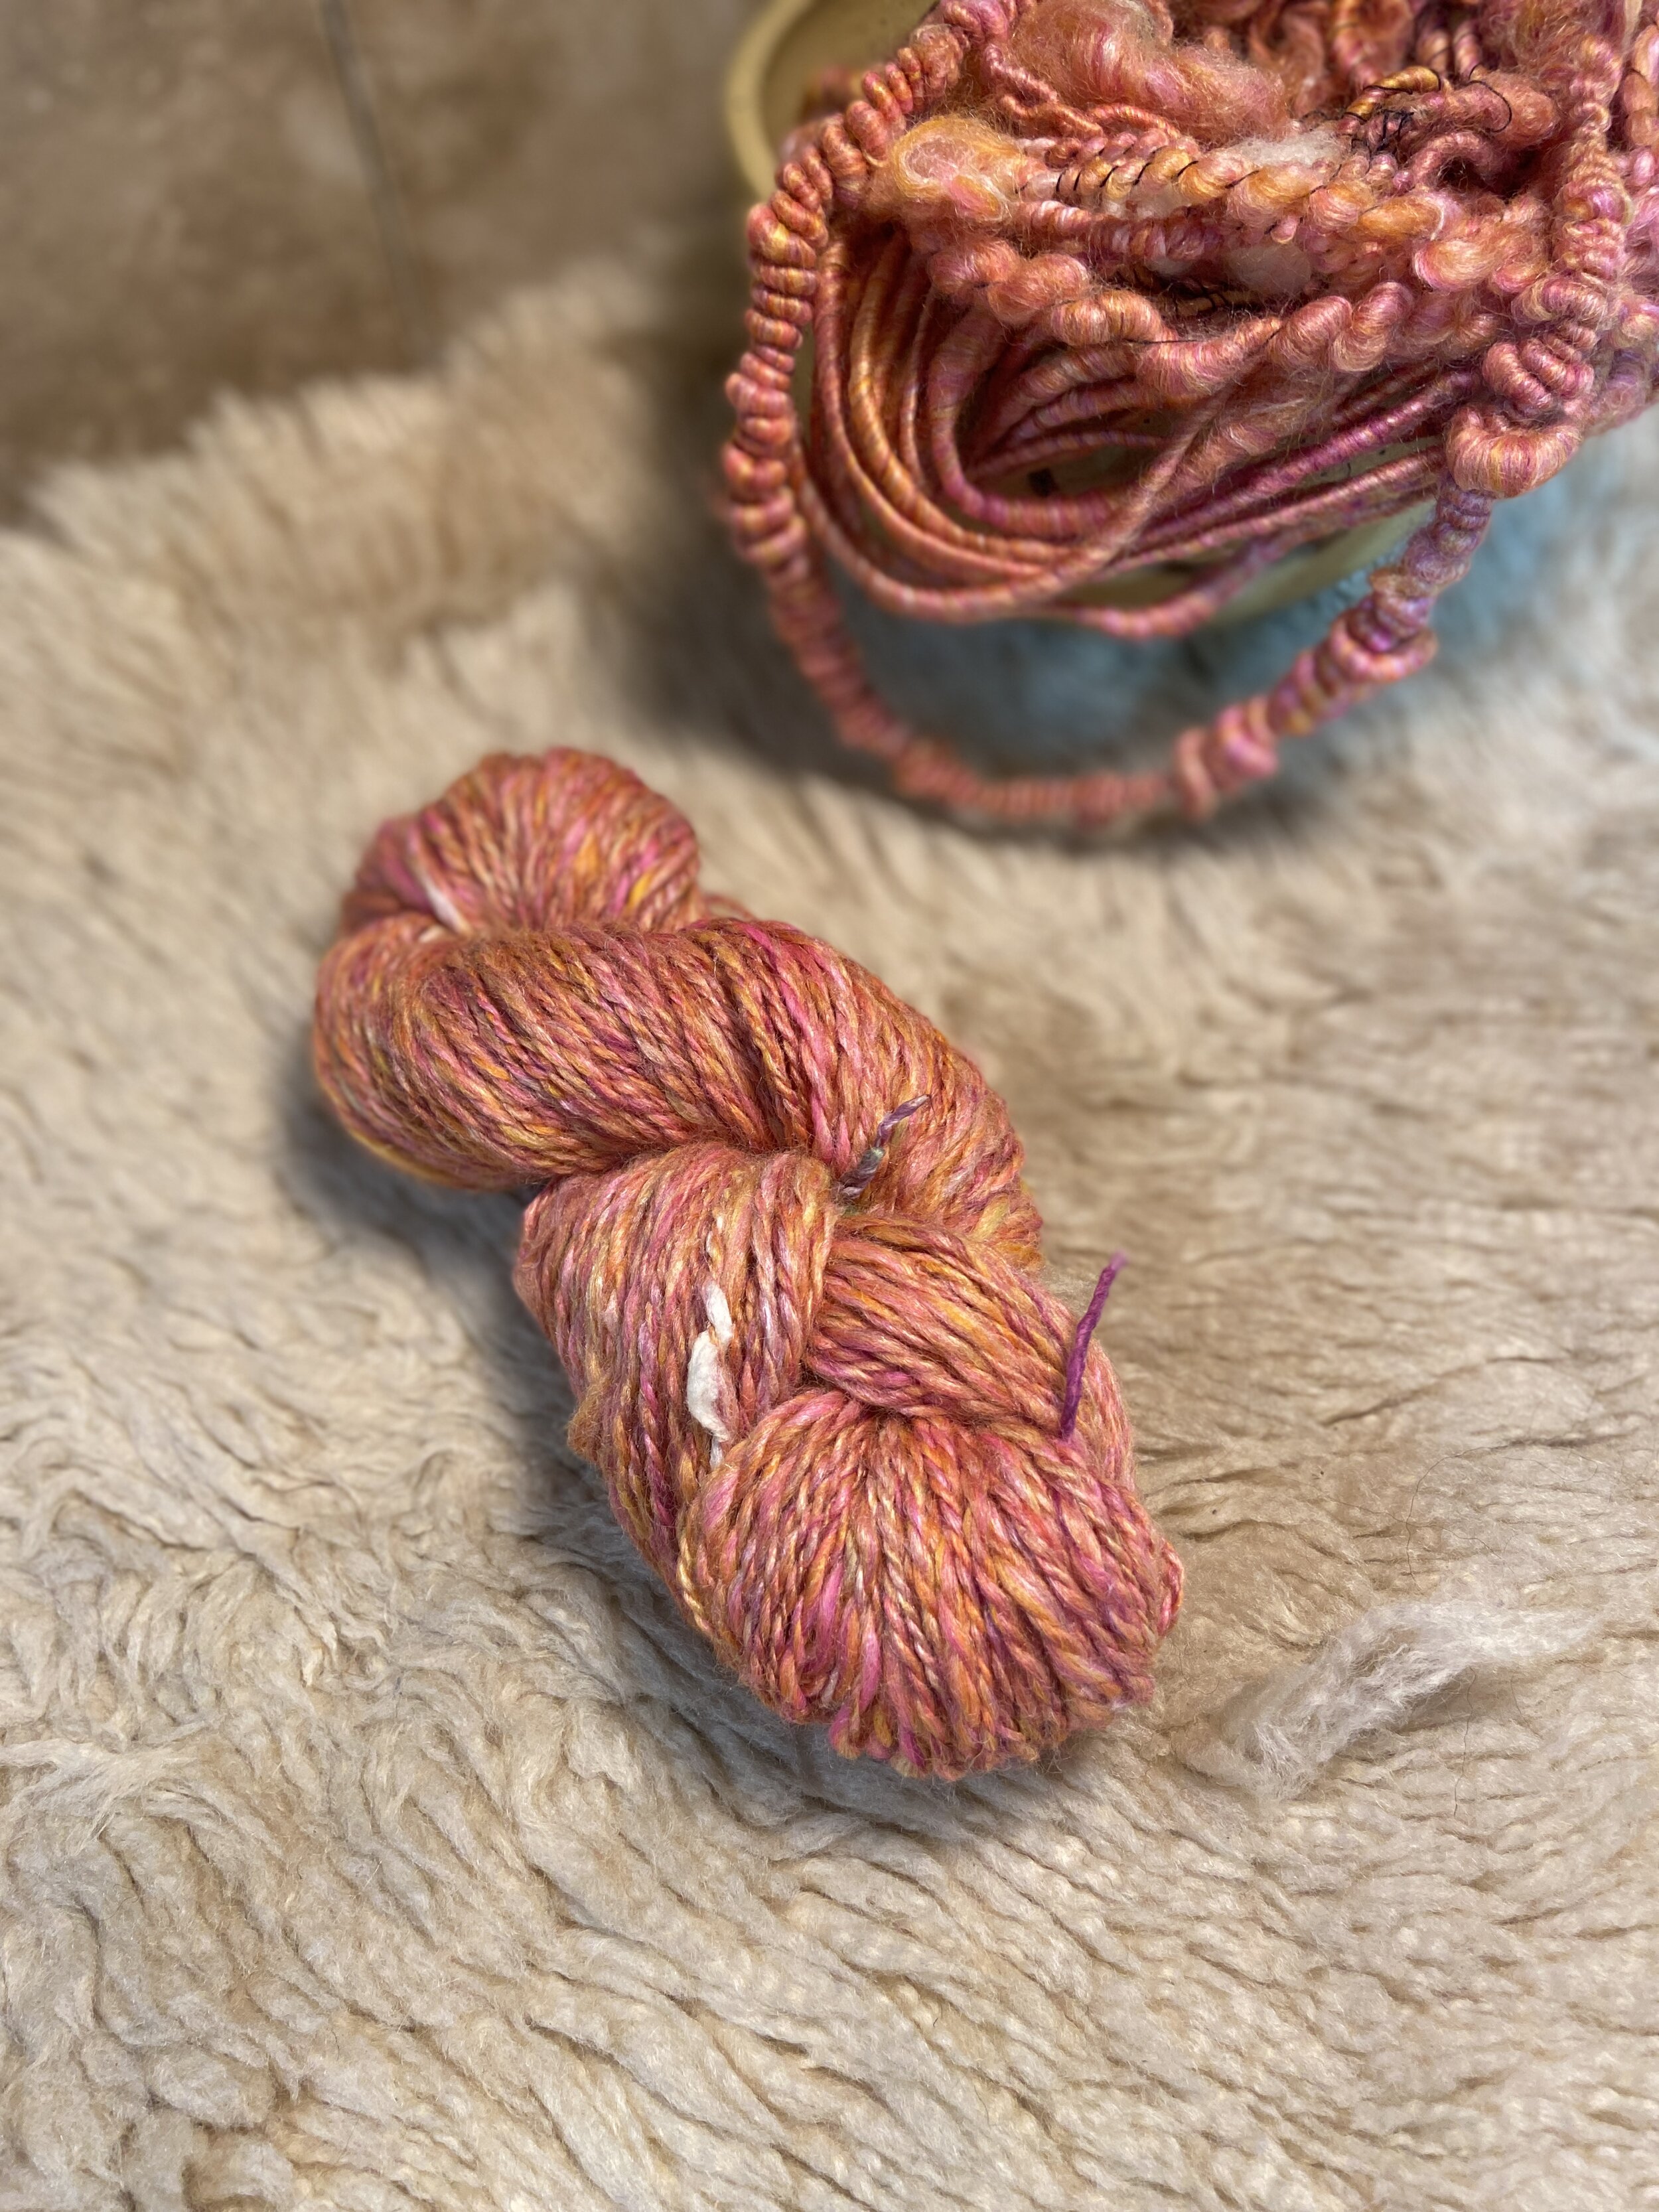
There are 12 gorgeous colors to choose from, each one being named after a Gemstone! the one shown here is called Agate, and it’s a pink, orange, and yellow combo, and the silk gives It a lovely shine!
if you’re not used to working with silk, this would be a good option to start, as it is a blend. It is a bit slippery compared to an all wool roving.

To make my art yarn, and to ply my singles I used my Schacht Spindle Company Bulky Flyer / Plyer.
When I have a lot of fiber loaded on my normal sized bobbins, I can use the bulky bobbin to ply a larger amount of yarn without having to break my yarn and start over.
The Bulky Bobbin can take a whole 8 oz, so I was able to fill my 4oz bobbins to the max, and not worry about having enough room during the plying.
While I was making my Art yarn, the absence of hooks was a huge plus.
when you’re core spinning, coil spinning, auto wrapping, or making beehives, the guide on the bulky flyer is incredibly helpful.
the yarn glides through very easily and winds onto the bobbin without getting caught up.
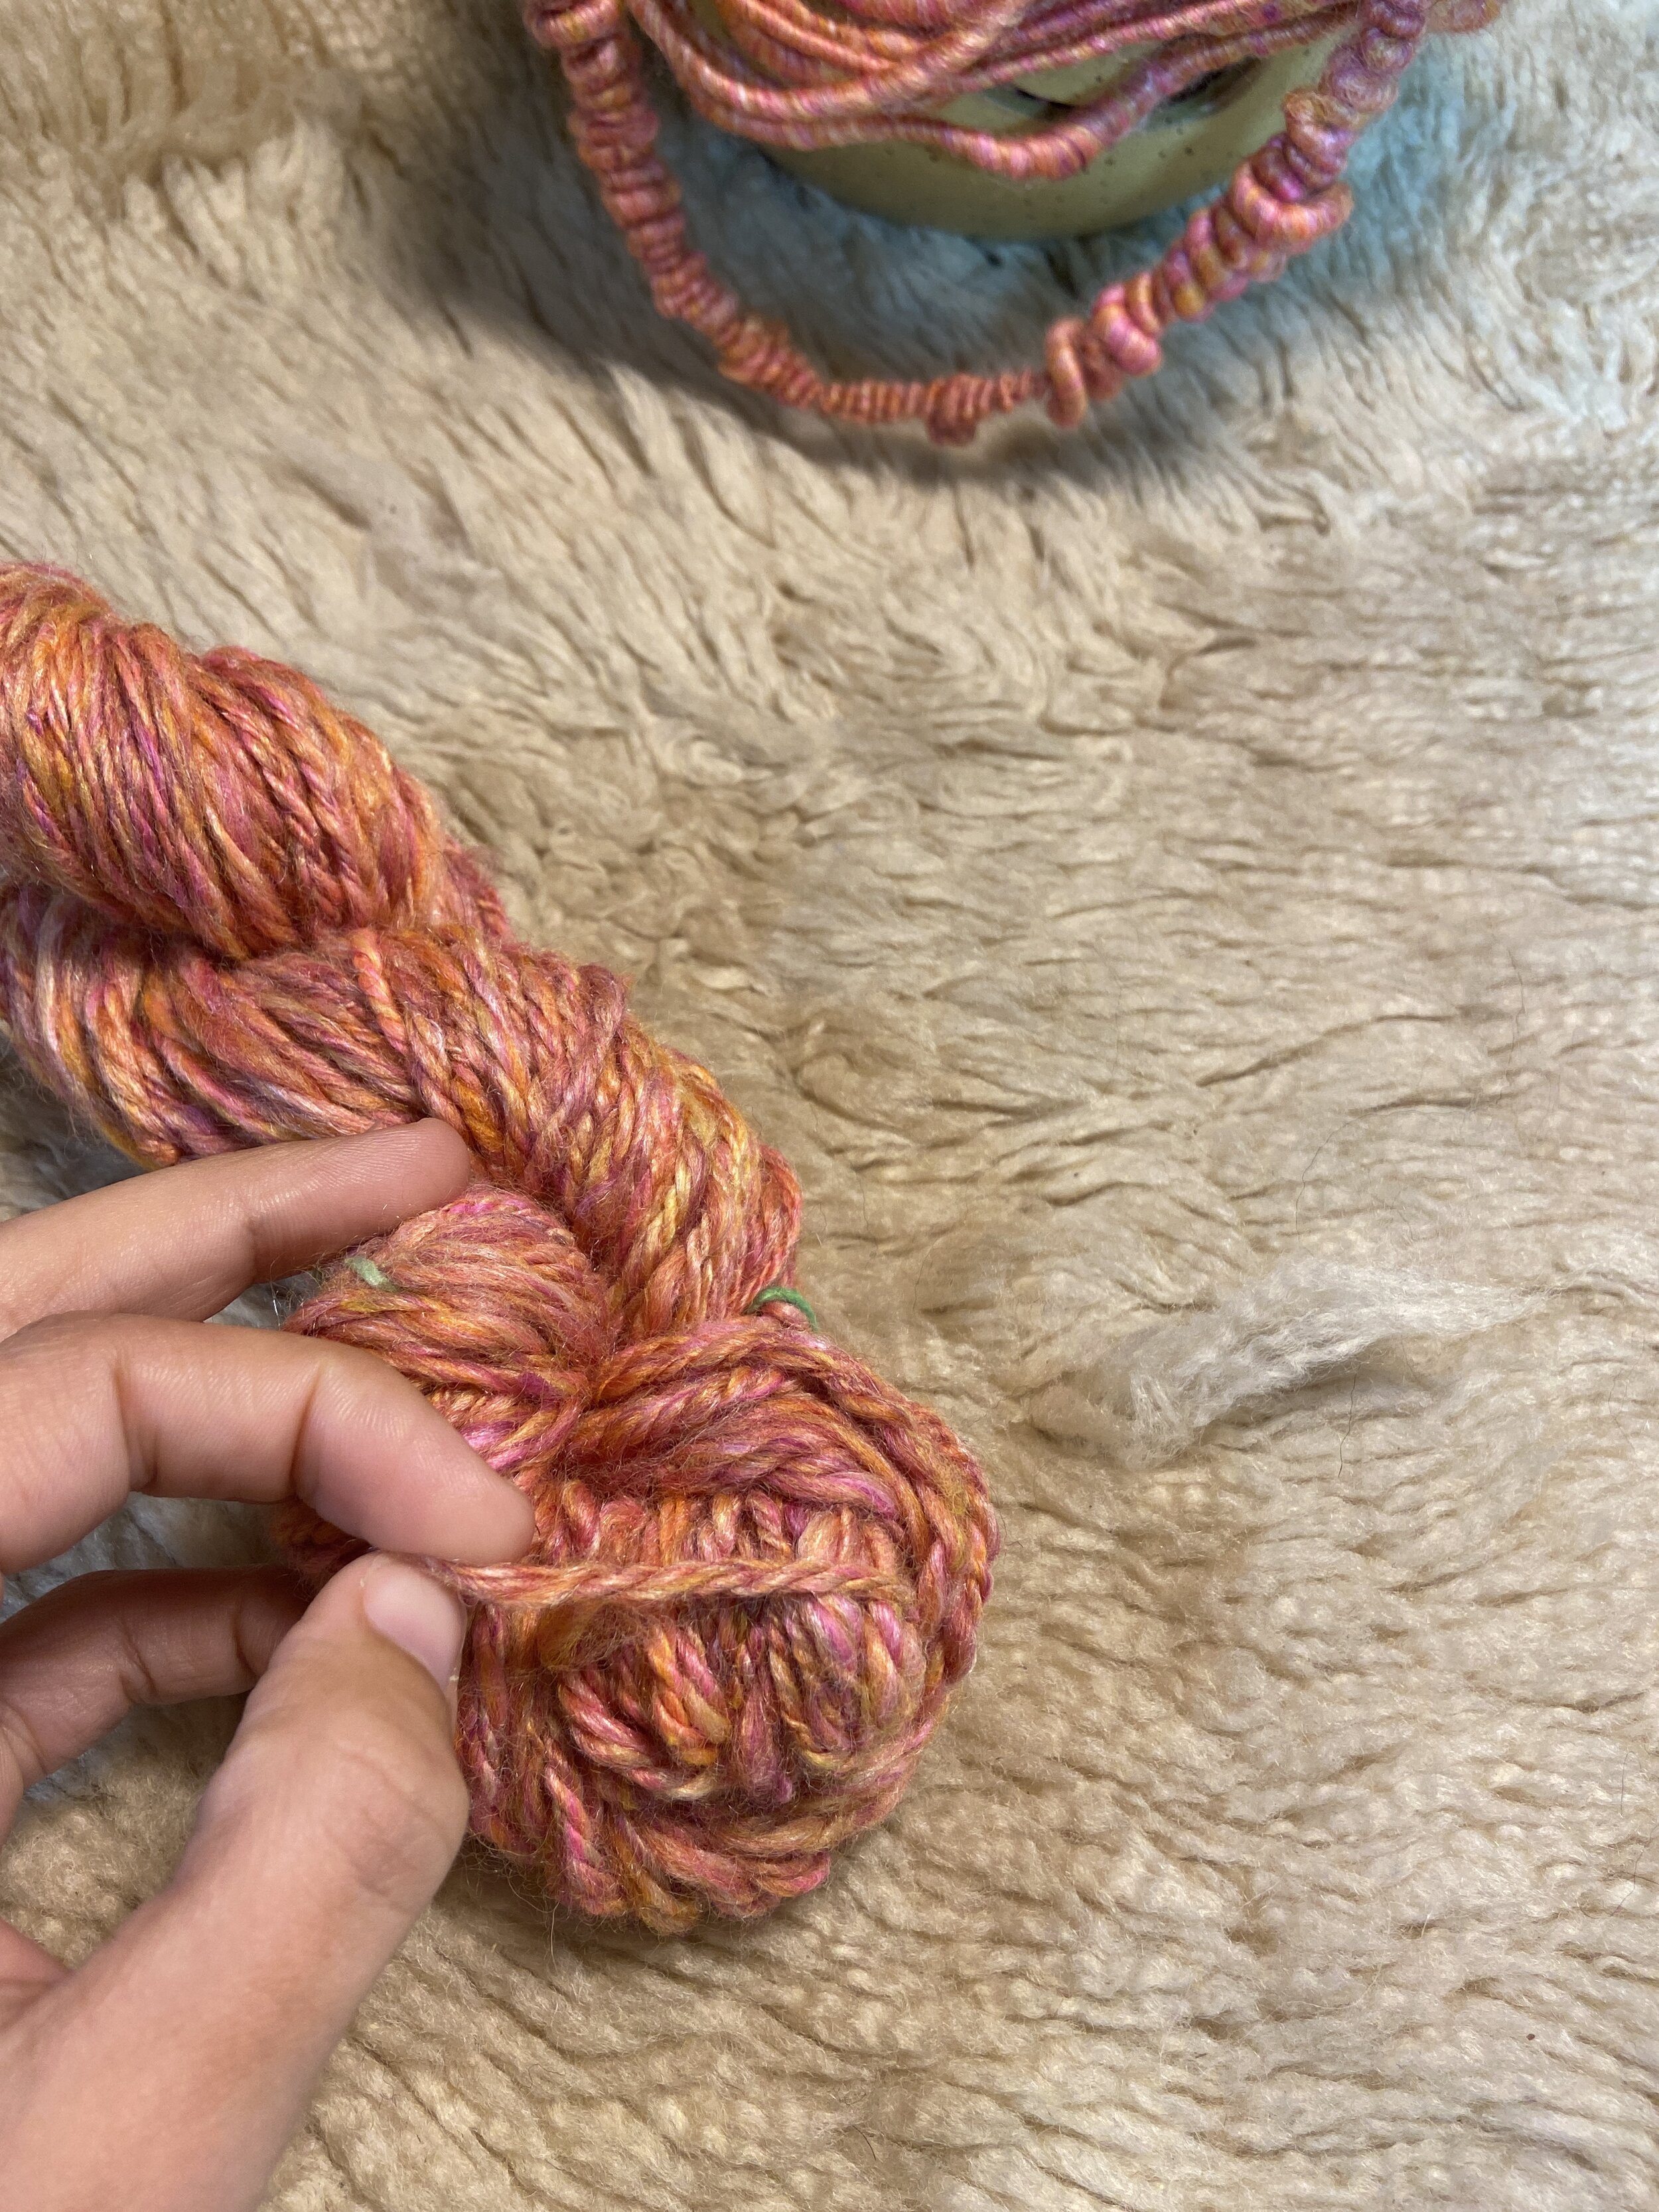
I loved experimenting with large chunks of fiber and texturized yarn! I was able to produce some gorgeous effects.
2 ply
A Classic!
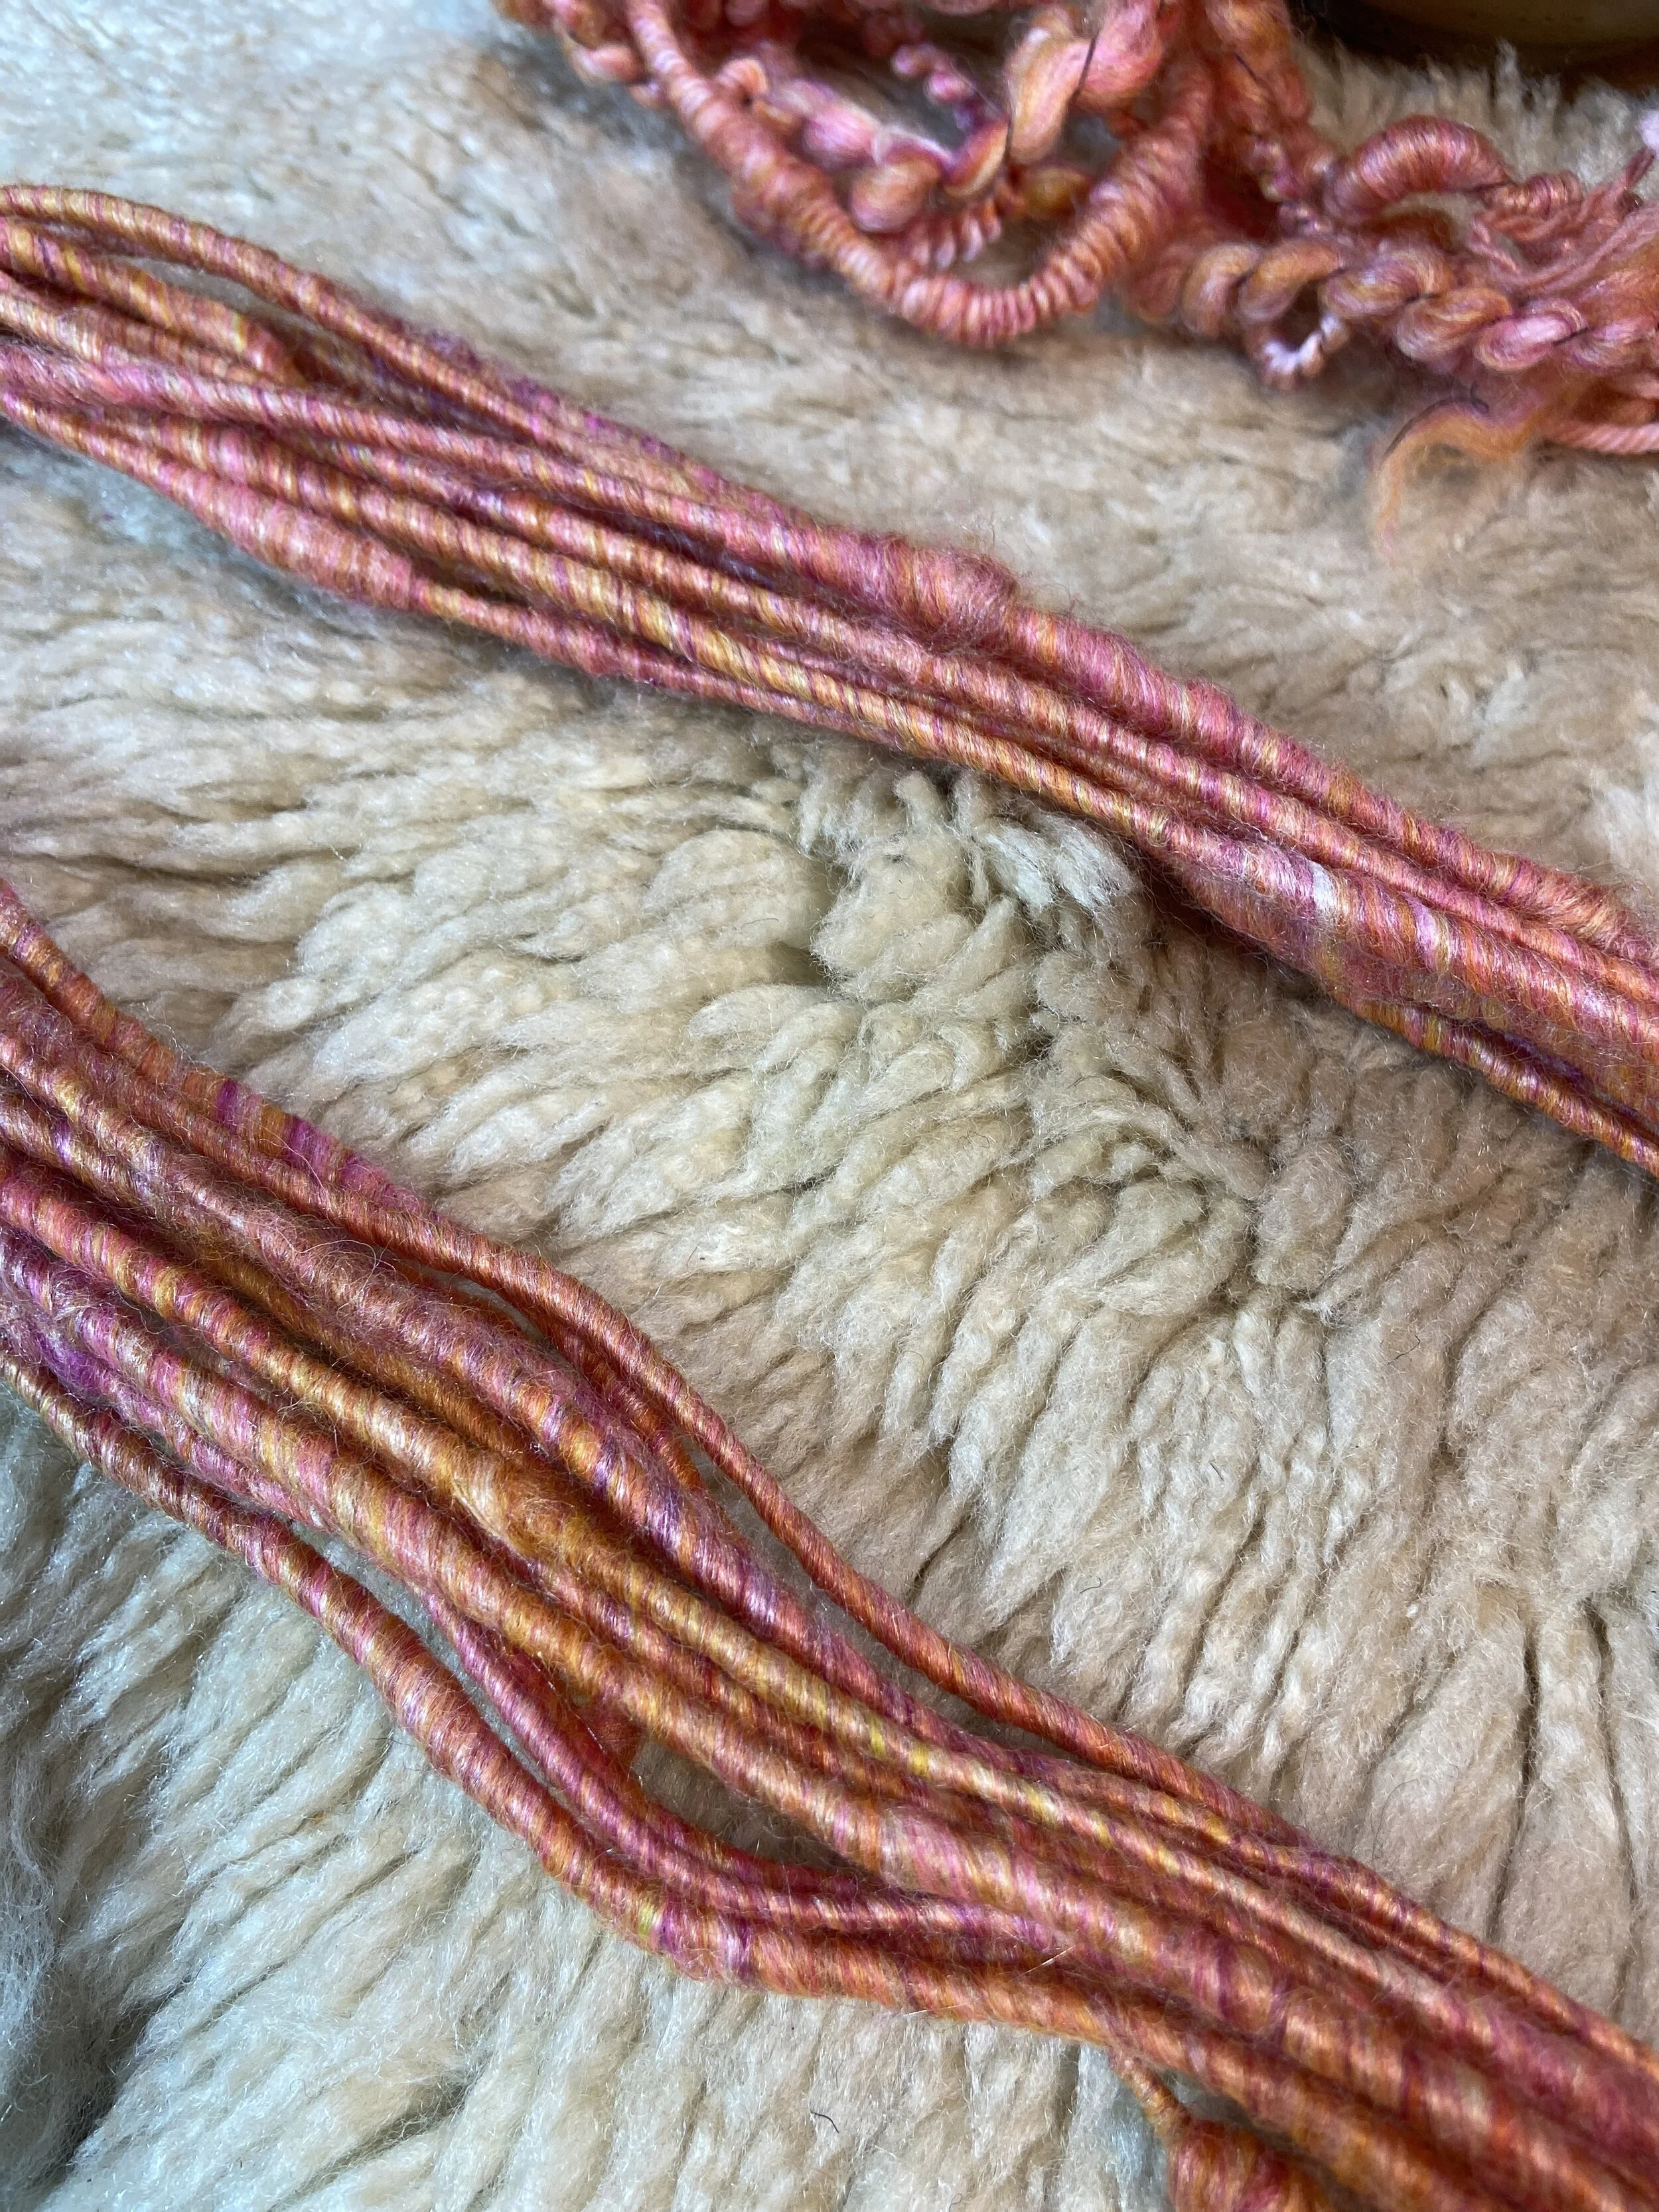
Plying your yarn 2 ply is simple and to the point. it creates a balanced yarn with a barber pole effect.
To ply this way you need to spin two singles in the same direction, and then ply by twisting the two singles together in the opposite direction on your spinning wheel.
I usually spin my singles in the clockwise direction (z spin) and then I ply in the anti-clockwise direction (s spin)
When my goal is to spin for consistency I like to spin my singles worsted, with a short forward draw, and then choose a 2, or a 3 ply yarn.
Chain ply
The reason I would choose a chain ply is when I have only made one single. It’s a great way to create a balanced yarn that is a little more sturdy than the typical 2 ply.
Since you’re only using one single, when you’ve finished plying you have no leftovers, which is incredibly exciting!
When you use a three ply, you can maintain color changes to create gradient yarns and self striping yarn. Your finished yarn will also have a slightly larger weight, and have ultimately less yardage per ounce.
Check out this short video about chain plying on a spinning wheel using the bulky bobbin!
Core Spun
I’ve recently discovered the wonders of corespun Yarn.
When you core spin you can see all of the colors and texture of whatever fiber you are spinning.
This type of yarn has the look of a single but is more stable and a larger weight.
If you use a textured batt you will be able to see all of the fun textures being added to your core.
Core spinning is similar to plying, but you are using your slowest speed whorl on your bulky flyer, and holding a strong core yarn at a 90 degree angle to your fiber and as the twist builds up in the core yarn, you let your fiber wrap around the core, completely covering the core yarn.
this technique takes a little practice not to over spin, but the results can be gorgeous!

AutoWrap
This fun effect is added to corespun yarn. the thread is allowed to wrap around the fiber and the core at its own pace

For the adventurous spinner:
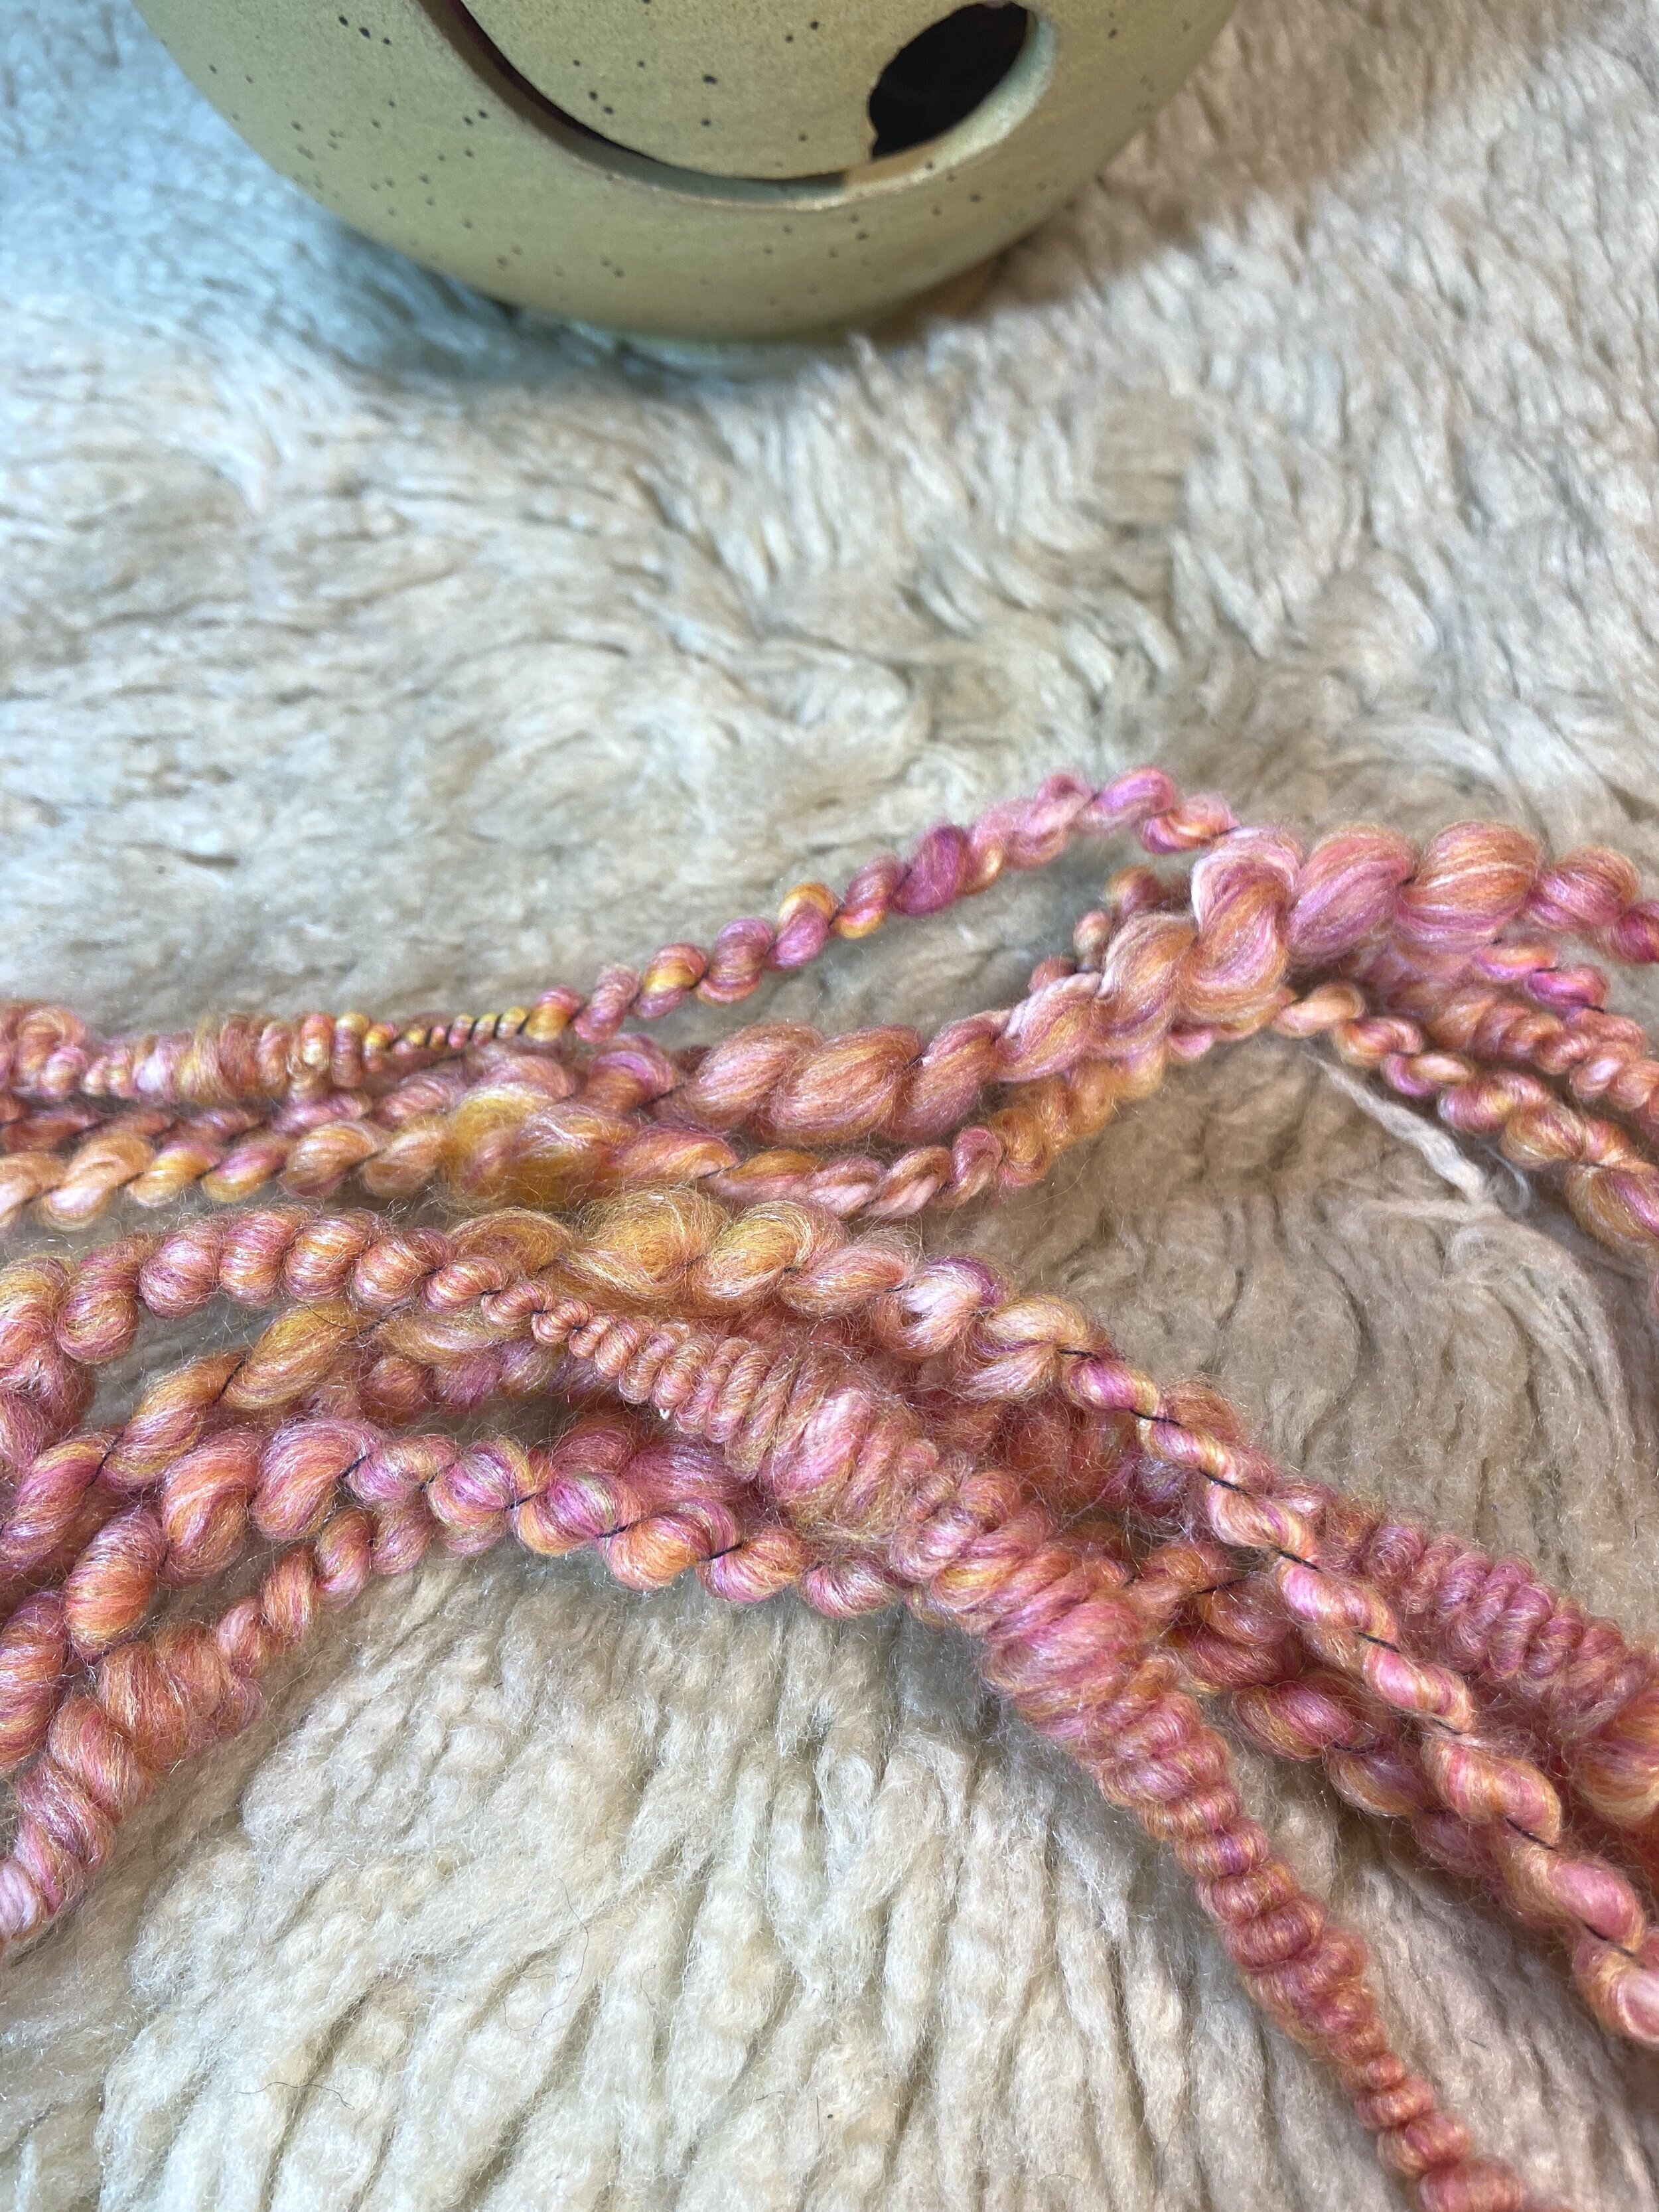
Coil spun yarn is gorgeous, fun, and wonderfully textured. It’s also difficult to achieve without over twisting.
I would recommend starting with a core spun yarn, you can auto wrap at the same time as core spinning.
then, when you go to ply, you corespin the already corespun yarn onto the new core, pushing up your yarn to make the coils.
When you get better at this technique you can try making a finer coil spun yarn by just spinning a single thick and thin. and corespinning the single onto a core.
The effects of this yarn are extremely fun and interesting, making it perfect for weaving projects or accents in a funky knitting pattern, but you do get a small amount of yarn for a lot of fiber.
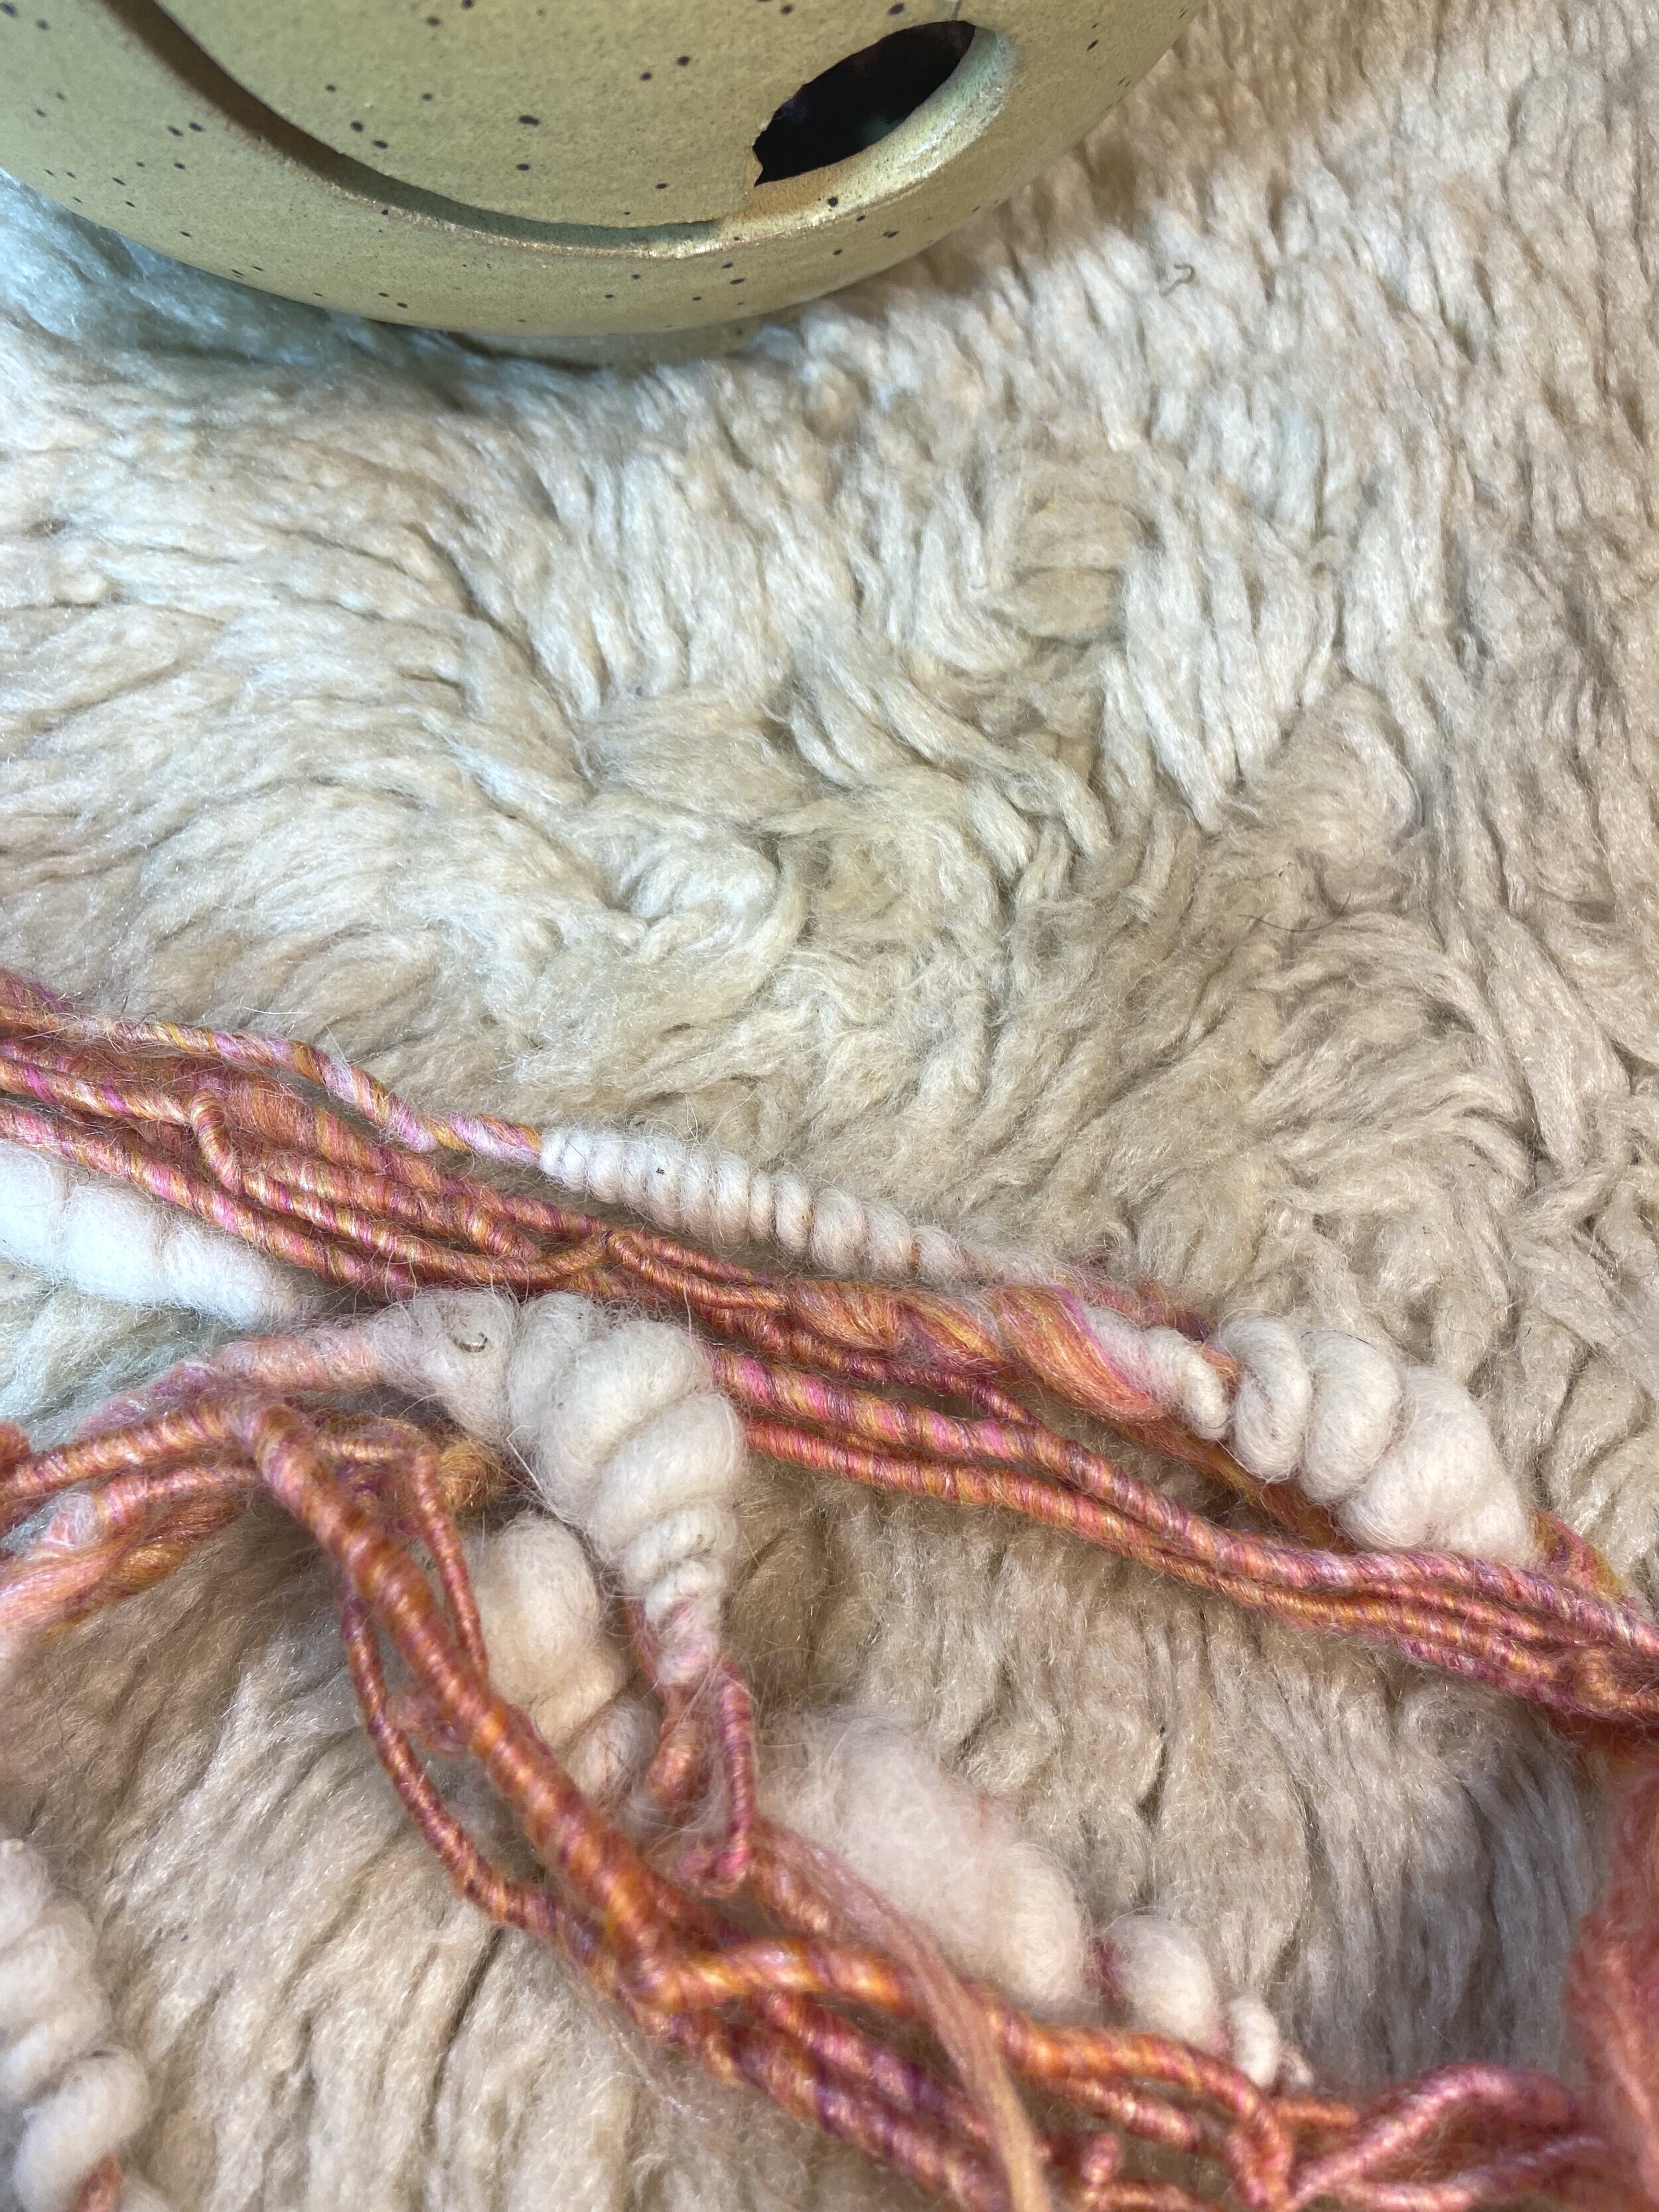
Beehives
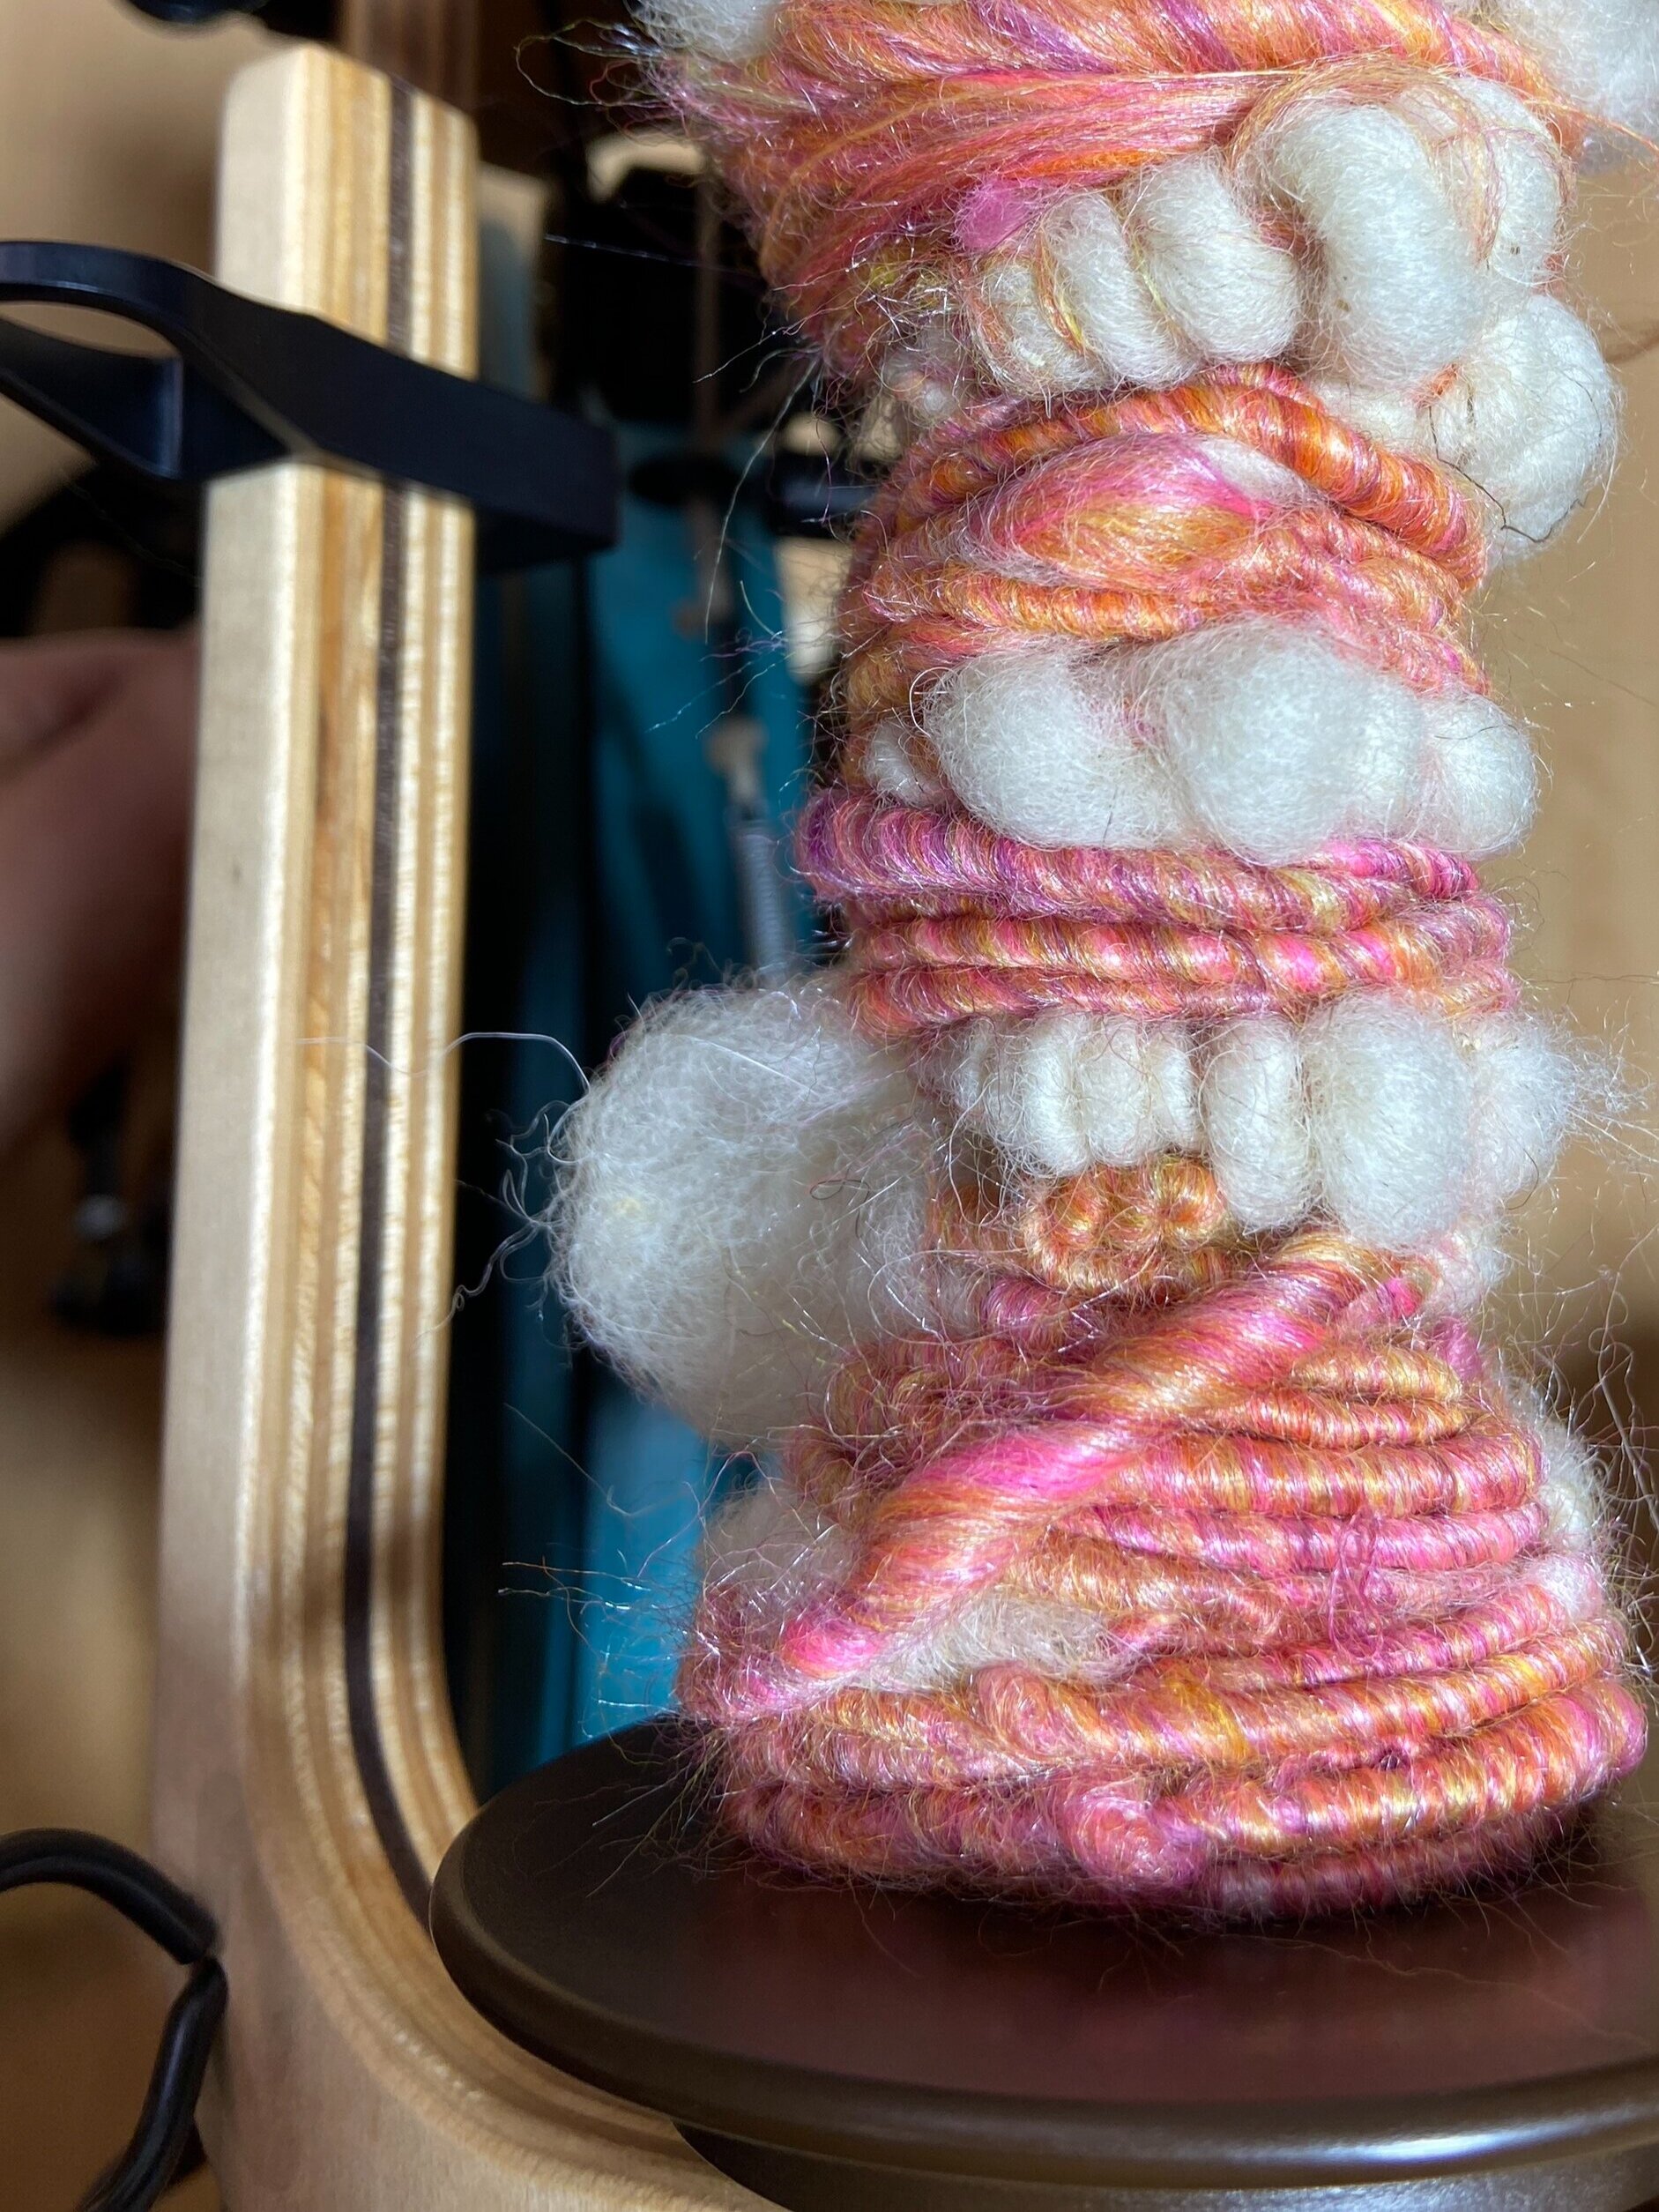
One of my favorite effect in art yarn, you can achieve this on corespun yarn by adding in staple lengths of fiber.
twisting in the same direction as you are spinning and letting that extra fiber wrap around the core and over the corespun fiber, then pushing that fiber up to make the coiled effect.
you need to secure the beehive by letting some core spinning fiber wrap around each end of the beehive, and letting that fiber drag underneath the beehive itself.
