Free Knitting Pattern With Handspun Yarn
Spinning an Alpaca Gradient Yarn
*Disclosure: I only recommend products I would use myself and all opinions expressed here are my own. This post contains affiliate links that at no additional cost to you, I may earn a small commission if you buy as a result of clicking this link. thank you.
This project was spun on the Schacht Sidekick Spinning Wheel
Sometimes the fiber tells us what yarn it wants to make, and sometimes we plan a spin from start to finish. When some local alpaca fiber came my way, I was inspired by the shades of natural colors. Maybe for the first time ever, I consciously figured out what I wanted in my handspun yarn. I wanted to make a gradient yarn progressing from light to dark, in a bulky weight, for a knitted trivet that would be nicely padded and could take the heat from hot dishes. Once I nailed down these choices, it was easy to plan my fiber prep and spinning.
Alpacas come in many shades, from cream through
every shade of brown to black. Their fiber is less elastic than wool. It does not have natural lanolin and it's likely to be dusty—alpacas love to roll in the dirt. It's more slippery so it's easier to draft than wool, but you may need some practice
to produce consistent yarn. Finished alpaca yarn usually has more drape, fuzz, and softness than handspun wool.
I had 6 shades, some already commercially processed into roving and others straight off the alpaca. I would have to clean and card the fleeces. For the colors to stay completely separate in the finished yarn, I would spin fat singles onto separate bobbins, then arrange the colors from lightest to darkest, then chain-ply each bobbin into one jumbo skein. For the singles, I used my Sidekick and a standard flyer. For plying, I set up the Bulky Plyer Flyer and its 8-ounce Bulky Bobbin.
FINISHED YARN, CHAIN-PLIED FROM 4 COLORS
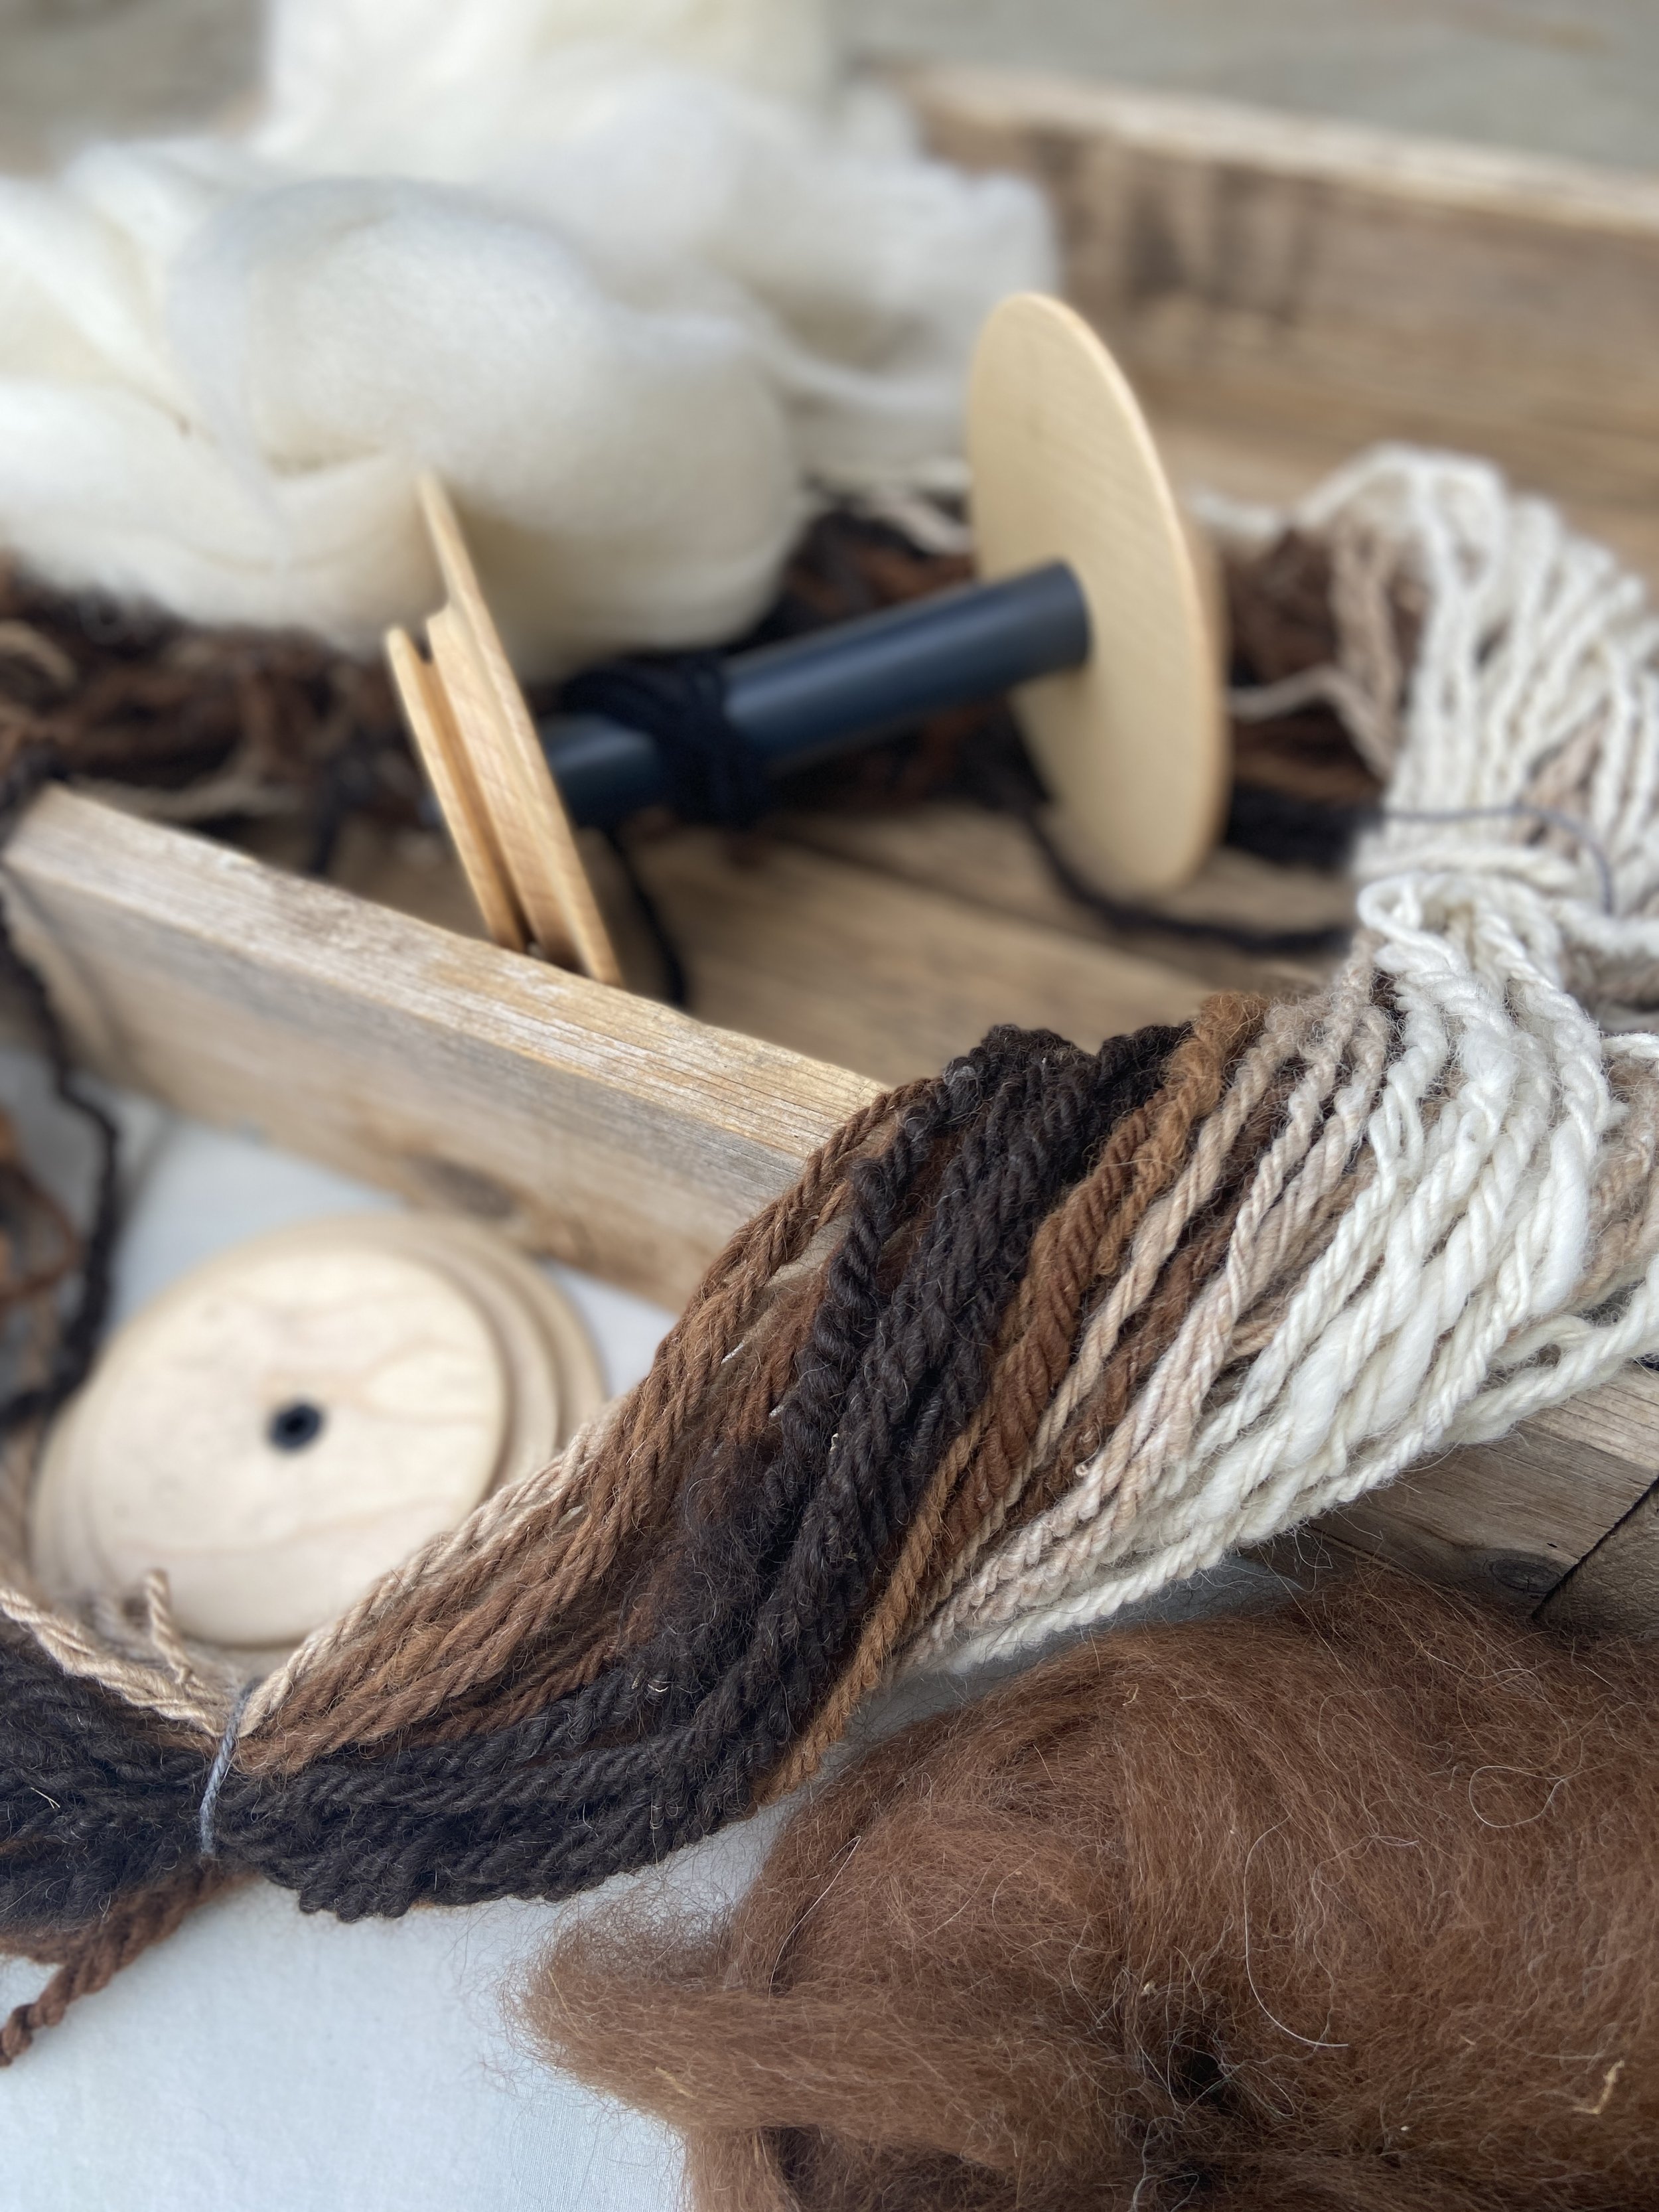
6 COLORS SPUN

FIBER PREP FOR ALPACA FLEECE
You don't have to scour alpaca fleece, since there's
no lanolin in it. But it's good to remove as much dust as possible before spinning. I started outside, beating the fleece against fence posts. Then I put the fiber into mesh laundry bags for washing: the bags were submerged into tubs of hot water and soap, then gently moved around.
It's important not to agitate the fleece, because alpaca can felt just like wool. I repeated the soaking process several times, then squeezed out the dirty water—again, gently—in a wringer washer. You could also use a salad spinner or the spin cycle on a washing machine.
Once the fiber dried, I carded it on my drum carder. Then I split the batts into thin strips so they would be as similar as possible to the mill-prepared roving.
SIDEKICK WITH MEDIUM WHORL FOR SINGLES
SPINNING THE GRADIENT YARN
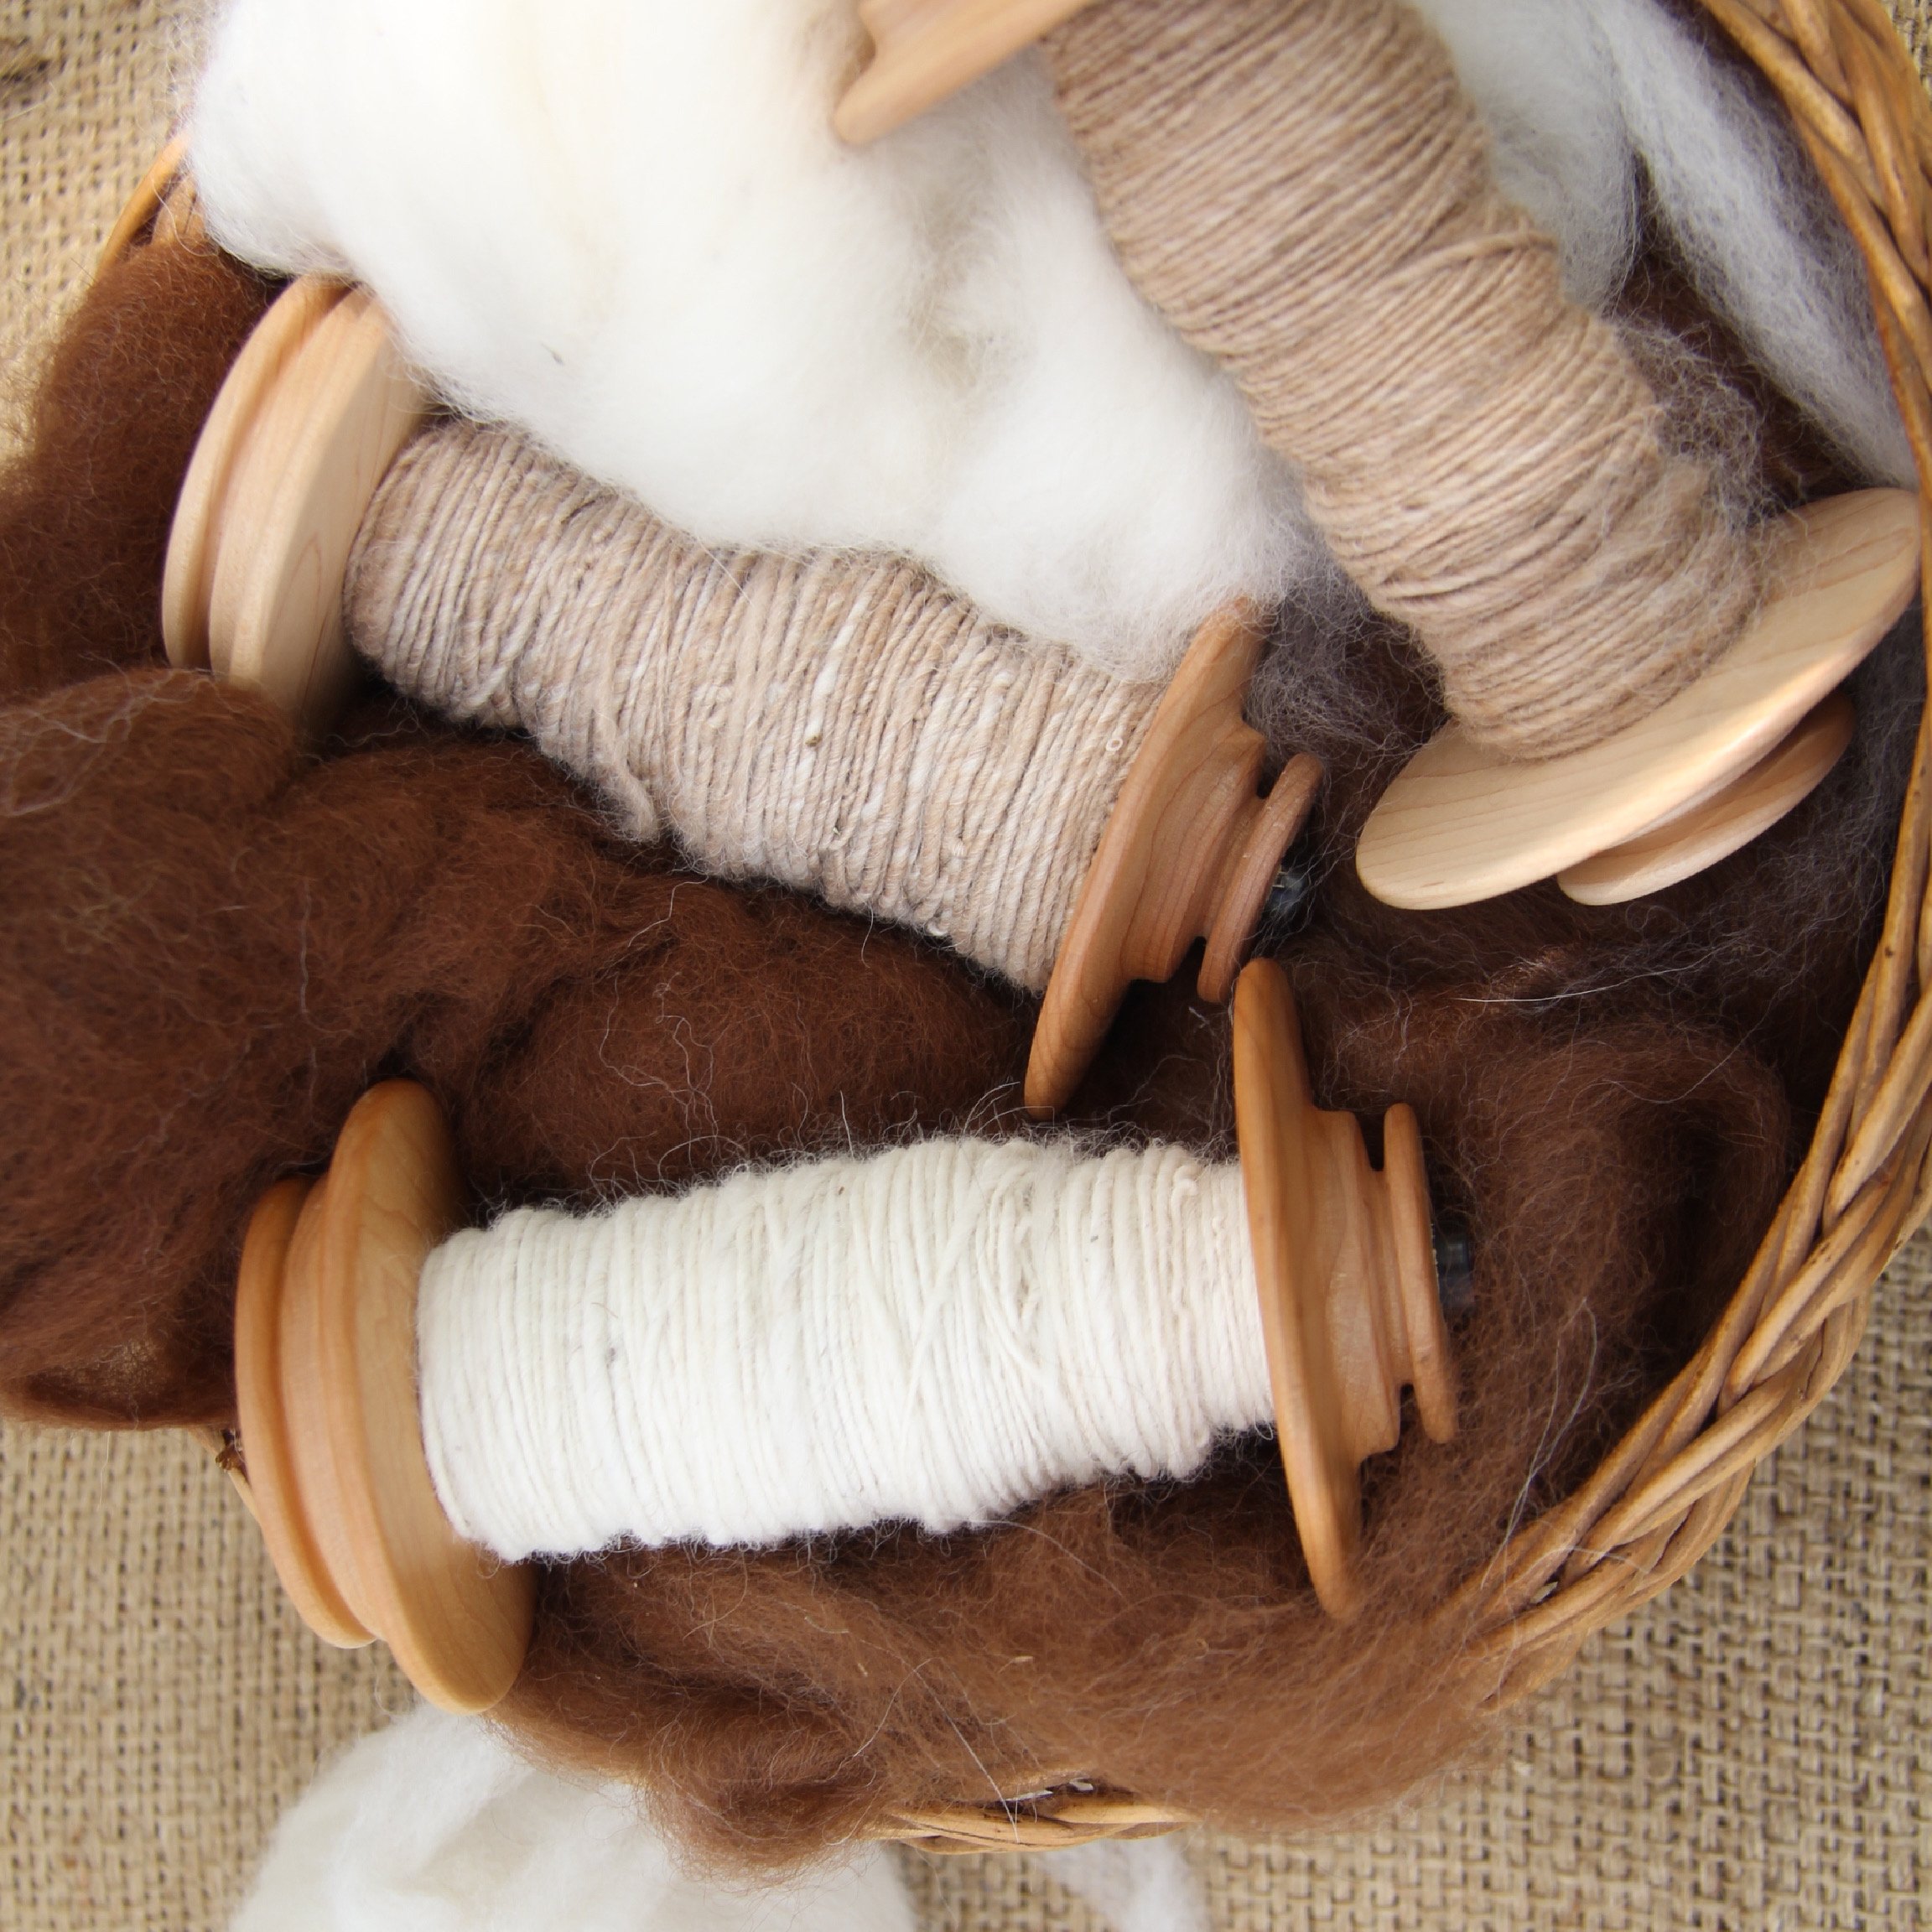
Then I got ready to spin. I wanted 4 natural shades of about the same length in the final yarn, and the Bulky Bobbin can hold about 8 ounces. So I weighed out 2 ounces of each color; I actually spun 6 different colors and picked 4 singles for the final yarn.
For the singles, I set up my wheel with the standard flyer and bobbin, with the drive band in the large groove of the medium whorl. I spun each color on a separate bobbin so they wouldn't overlap in the plied yarn. The singles were about 7 wpi, spun Z. I spun in Scotch tension mode with heavy take-up. Alpaca yarn feels softest when it's got low twist, and I wanted a fluffy yarn for the trivet.
If you're not used to alpaca, you'll find it easier to spin fat singles. Get a feel for how the fiber moves—commercial roving and drumcarded batts are a woollen prep, which will be less slippery than top where all the fibers align. If you usually spin finer yarns, the hardest part will be spinning thicker ones. Make a plyback sample and/or use a control card: both these tools will help with consistency, especially if you have to set the project aside for a while and come back to it.
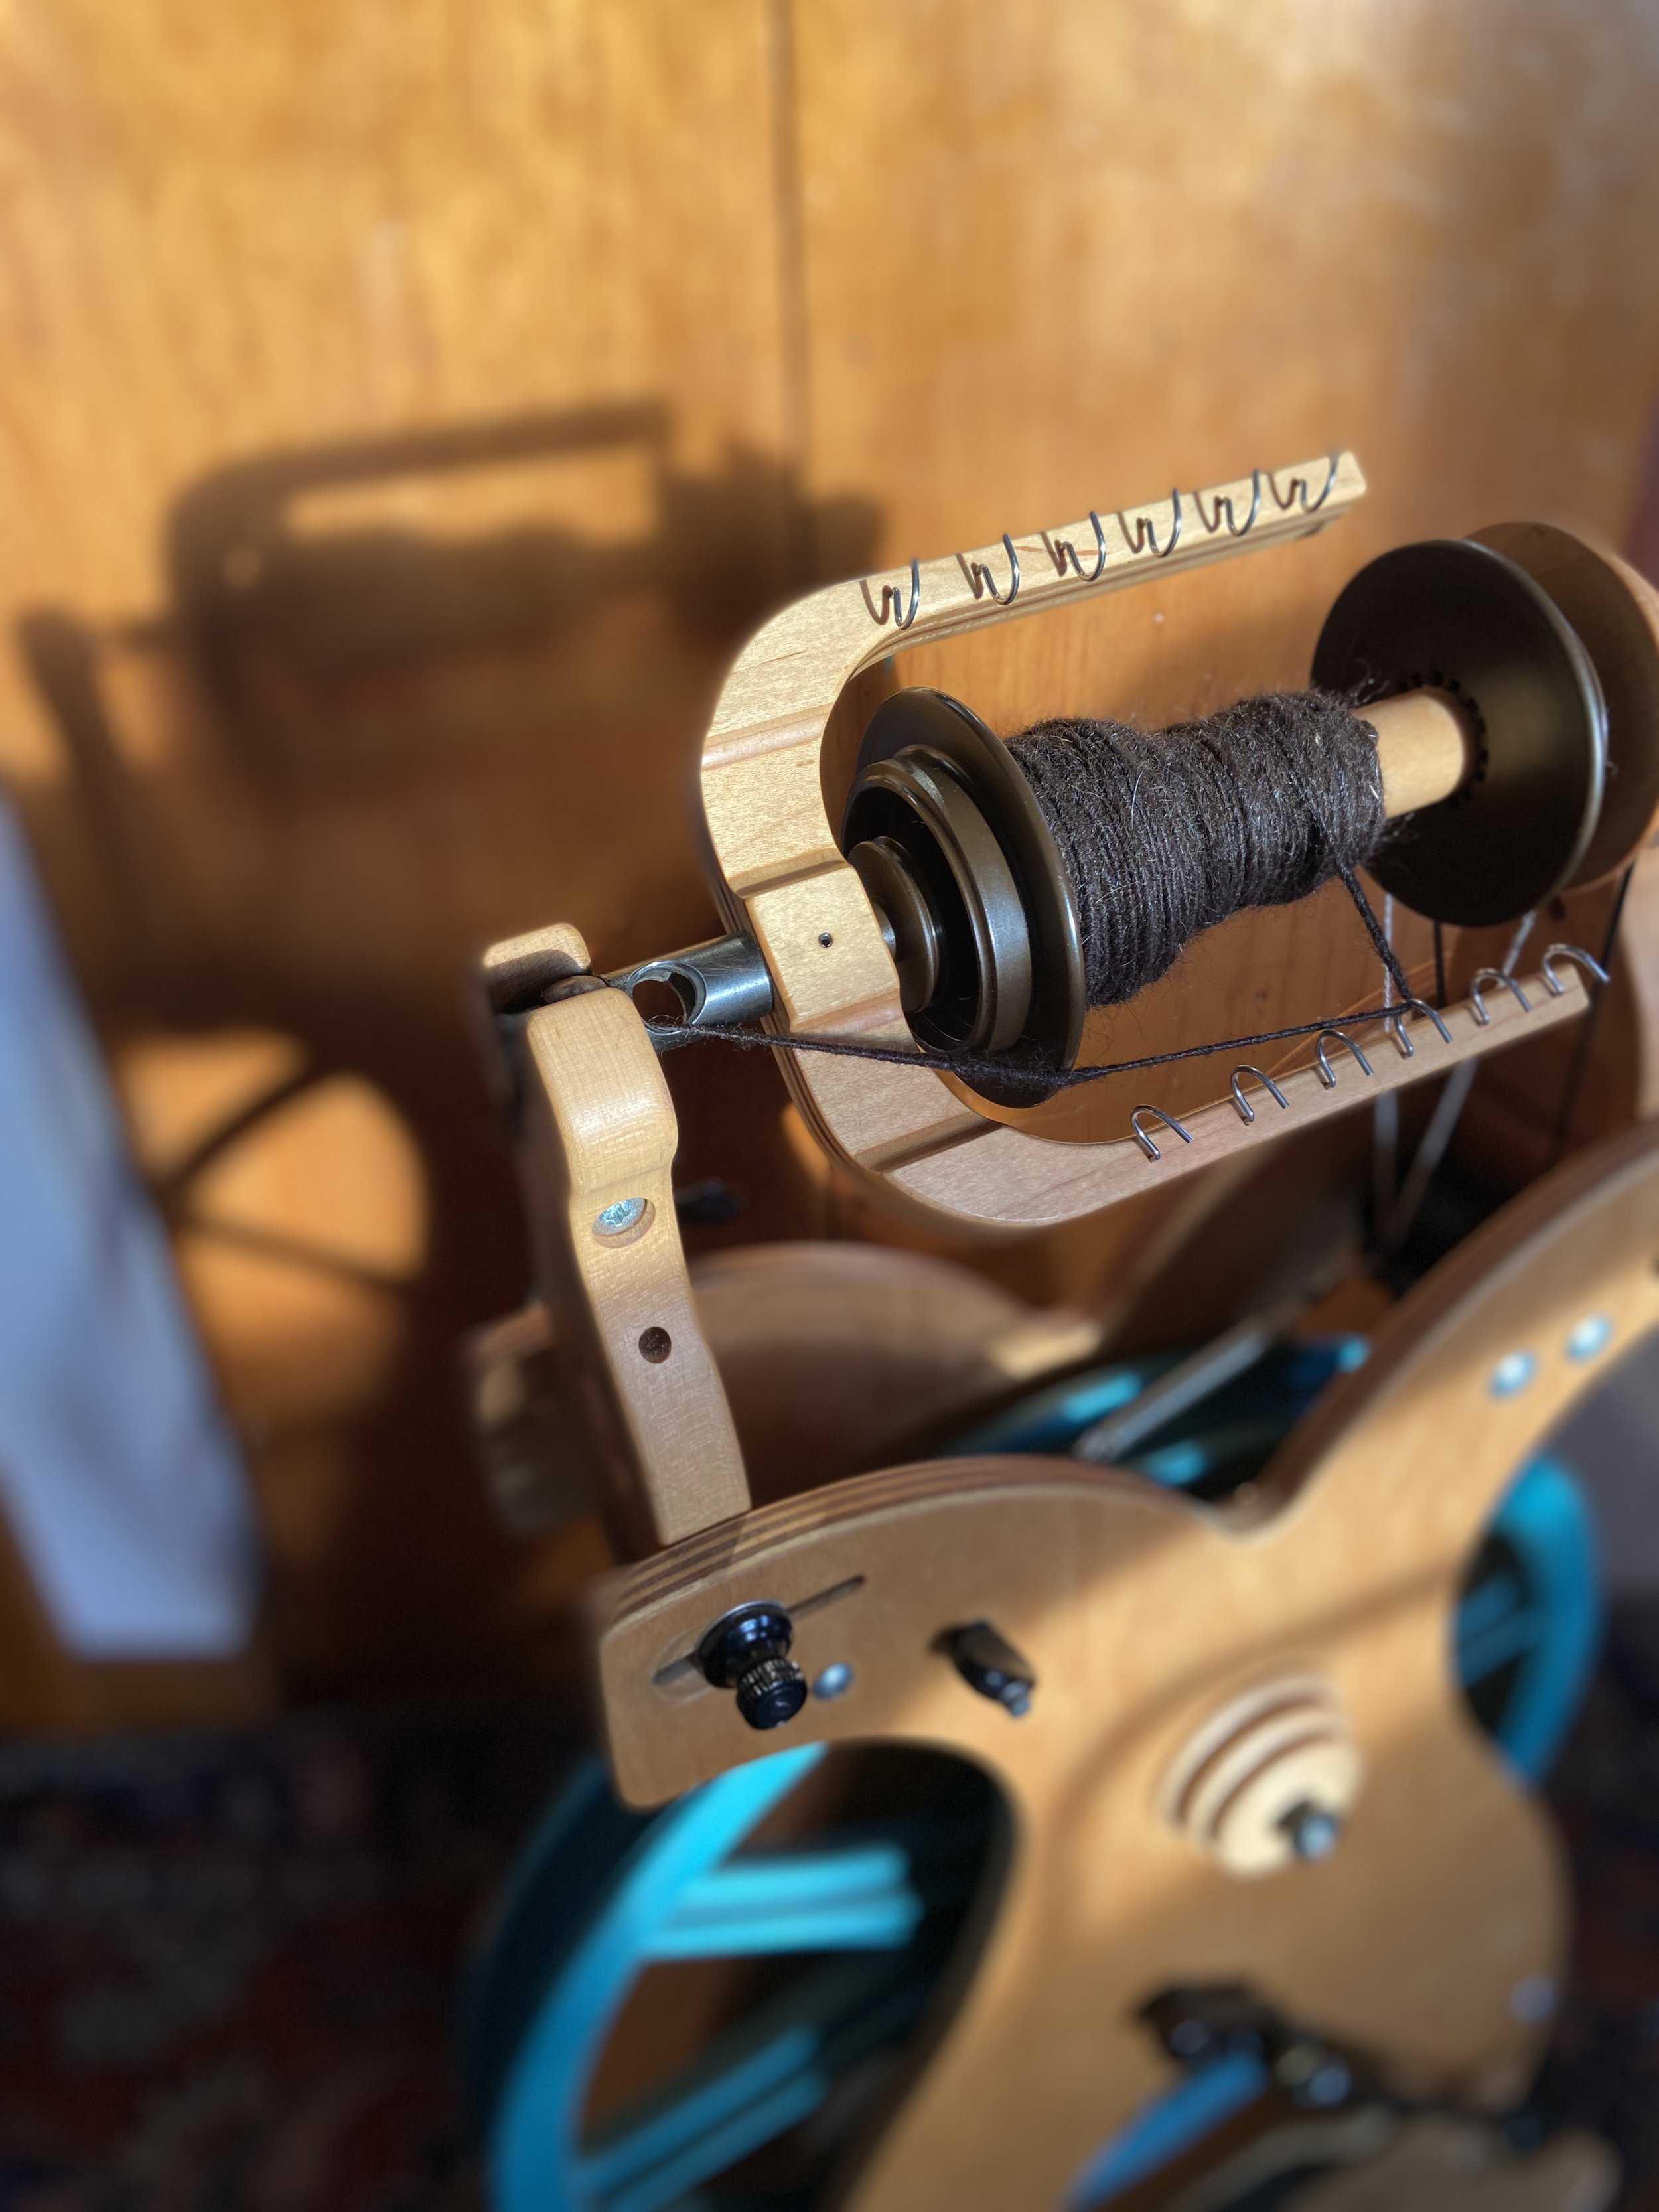
Once I'd spun all the singles and chosen the 4 colors
for the final yarn, I could chain-ply. I set up the Bulky Flyer and slow whorl, with the drive band in the large groove. I chain-plied one color at a time, working from lightest to darkest. As each color ran out, I added the new color with a slip knot.
To finish the yarn, I skeined it and set the twist by steaming the yarn (you could also soak it in water with a small amount of gentle soap). The finished yarn was about 7 wpi.

Finally, I knitted a gradient trivet. It looks beautiful on the dinner table and hangs on the oven door when it's not in use. You'll find the pattern below.

Trivet Free Knitting Pattern
Trivet is work Corner to Corner
on knitting needles Size needles size 10
Cast on 3 sts
Work an icord for 4 inches
Slip the first cast on 3 stitches to a dpn, and then get another dpn.
Slip the first stitch onto the needle of picked up stitches and K2tog . Slip that stitch to a third dpn and hold in back .
Repeat until you have 3 stitches on one dpn.
Start the body of the trivet
Working in seed st
3 sts
Purl across first row slipping first stitch
Slip first stitch kfb knit last stitch
Slip first stitch, kfb, work in seed stitch to end
Repeat for 3 until you have 60 stitches or desired width for your trivet. (You are halfway done at this point)
( when the color changes, on the rs, knit all stitches, if the color changes on the ws. Purl all stitches) ( keep increasing at the same time)
Decreasing
Slip first stitch k2tog work in seed stitch to the end
Repeat until you have 3 stitches left
work an icord for 4 inches.
sew the icord ends to each other to create a loop where the trivet can hang from a hook.
